Another day, and a fresh pair of eyes on the aligning skin problem. To cut a long story short, I found that the rear rib at station 2 was twisted against the rear channel making the hole spacing at that end incorrect. So, a little more unriveting and with some effort we got the rib in its proper place and we could roll the skin out and cleco it into place on the ribs.
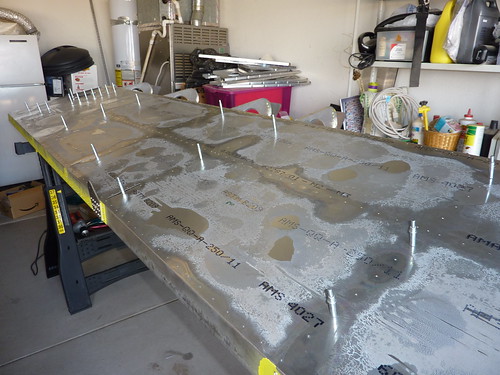
We’ve had quite a lot of rain recently and the remaining parts are in the crate in the dog run and so the metal got wet and oxidised/corroded so it doesn’t look its best right now. I bought some Nuvite Metal Cleaner which will buff that right up but I will wait until later to apply it.
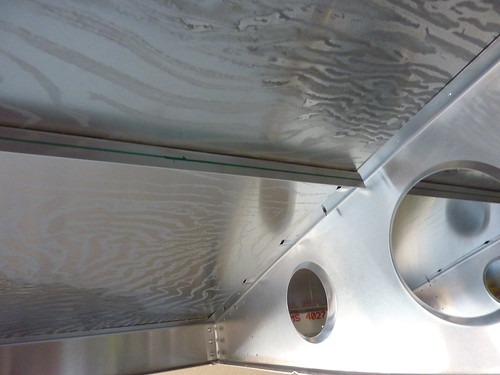
For some reason I don’t have a picture of them, but between most of the ribs you install an l-angle under the skin which adds as a stiffener and reduces “canning” noise in the air. I drilled a hole in one end of each of the angles and clecoed it in place under the skin. Then, with a centre line showing through the remaining holes, I back drilled into the angle through the pre-drilled holes in the skin.

In that picture you can see four l-angles installed along the centre of the skin. Here’s one from underneath:
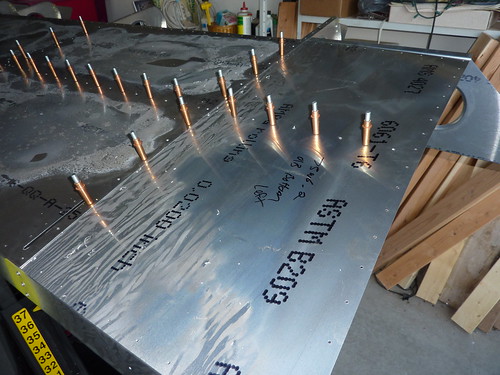
In time honoured tradition, the pilot holes needed to get enlarged to their final size, an A4 rivet, and I also went through the rear ribs holes and opened them to size 30 as well.

I didn’t drill the inboard rib as it overlaps the inboard skin so I had to cleco that in place first. It also has an l-angle down the middle and I drilled it and clecoed into place too.

Final task of the day was to drill out these last few holes to size 30.
Next up is to position the nose skins and trailing edge skins so that I can drill through them into the spar; the spar and rear channel do not have pre-drilled holes so that is going to be a lot of work. Can’t wait to do the deburring!!