I’ve been in a funk recently with the build, quite discouraged by the lack of information on how to finish the plane, or even in what order to do things. Trivial matters like antennas, where to put transponder boxes and even when to rivet the fuselage are all absent from any Zenith materials. Some whining on the Zenith.aero website has me less bothered about it but rather than mate the two fuselage parts I decided on something different: get the flaperon control mixer assembly installed.
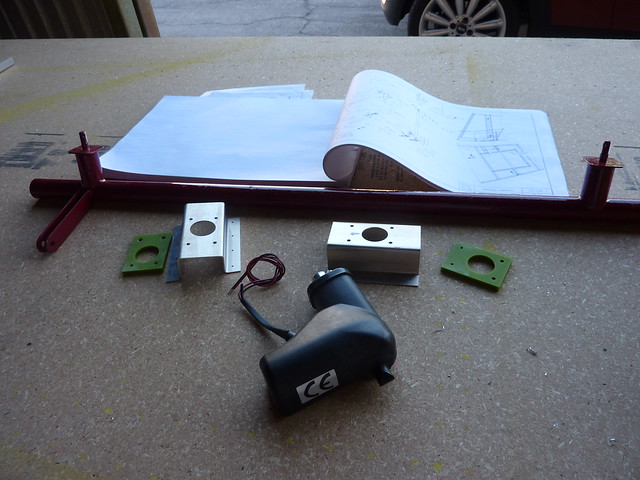
When I took this picture I thought it was all the parts I needed but there are some missing. But there is a control mixer, a linear actuator motor and some bearings.
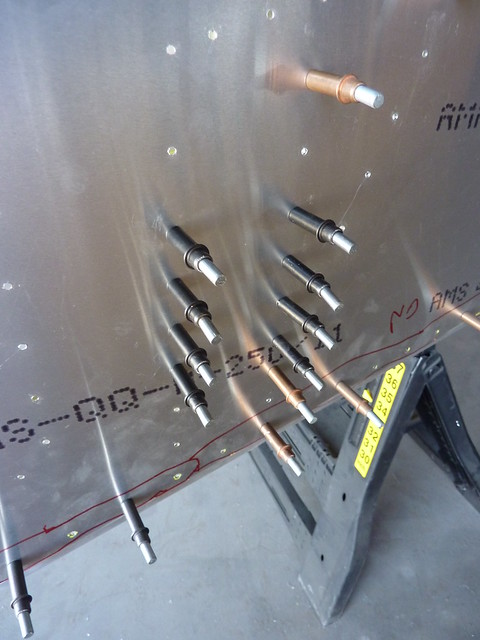
First up was to install the mixer bearings onto the mixer bearing supports. This is one of those nice moments where the kit is more pre-drilled than the one used in the video. In the video you had to drill the holes, not so here, just insert the bolts and fasten.
Self locking nuts on the back.
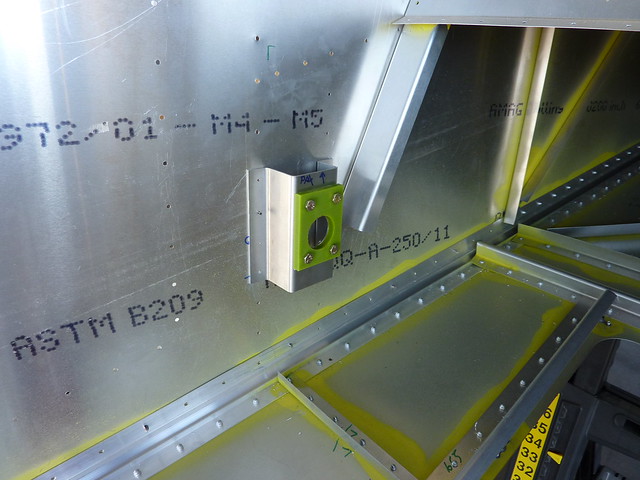
Back in the fuselage we have to install the mounting plate for the actuator motor. In the DVD they do this before even putting the sides on and it would have been a LOT easier to do back then. Instead I had to clamp it down good and then drill from underneath, this was quite the task.
But after a couple of drill changes and wearing out a brand new drill bit I got it done.
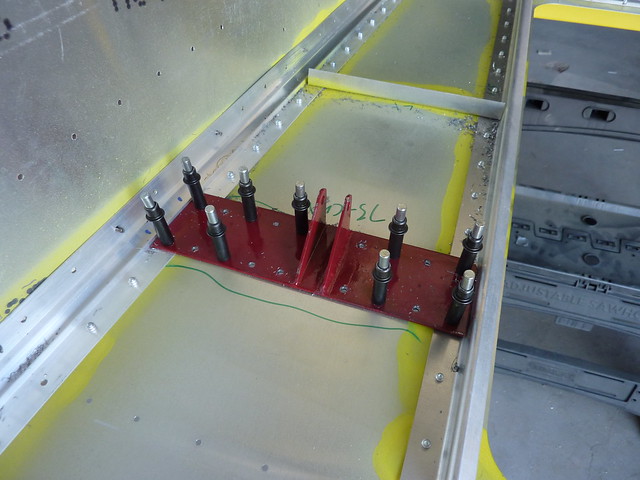
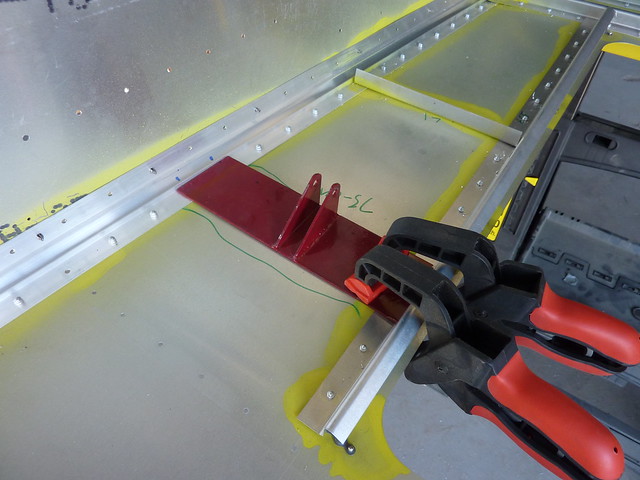
The mixer bearings are supposed to cleco into the pre-drilled holes on the side skins. But mine did not line up very well and it took me a long time to decide that I was doing the right thing (ok, I still have my doubts). I eventually got it so that the holes were lined up enough that a #30 drill bit would open them up correctly.
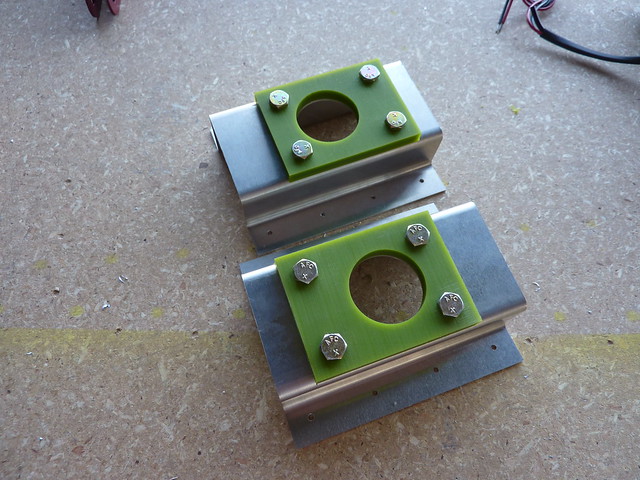
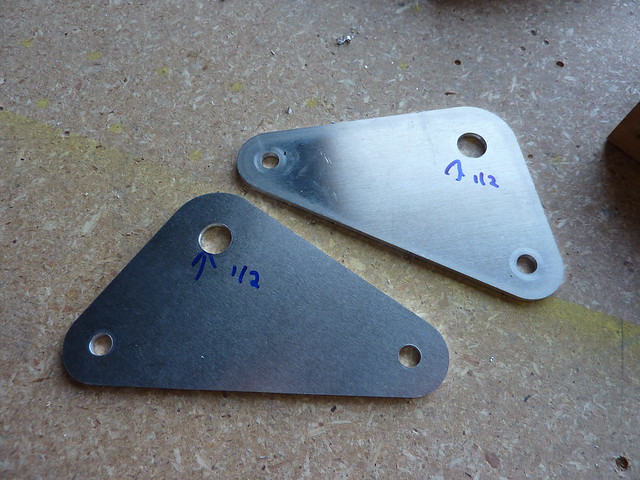
There’s an l-angle that gets cut and put behind the bearing support
and then I drilled holes into the l-angle through the pre-drilled holes, and opened up all the holes in the support to A5.
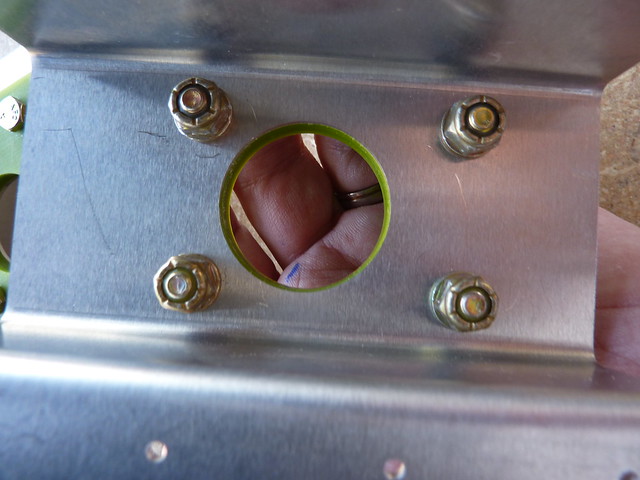
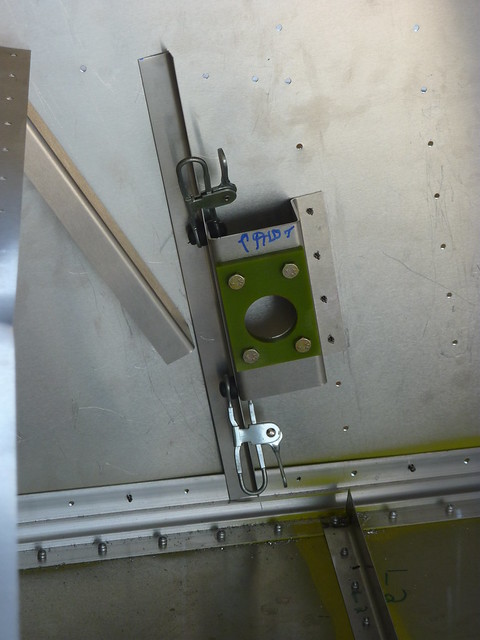
(this has to be the least useful picture ever)
Back to the control mixer, there are some vinyl bellcrank bearings that need to have a 1/2″ hole drilled through their centre. So I marked the middle point and slowly expanded with a unibit drill.
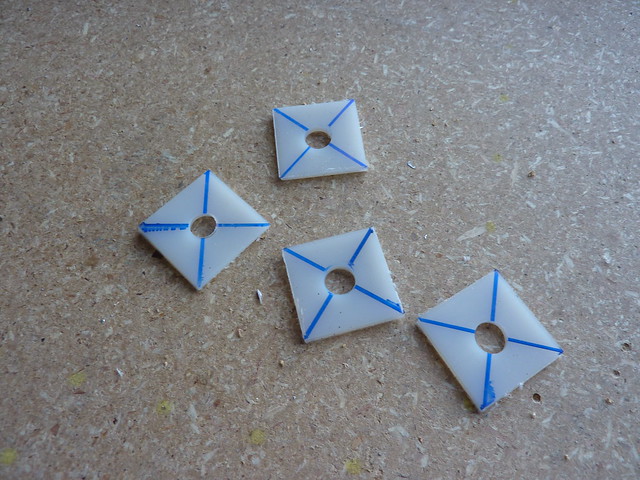
Similarly, the bellcranks needed to have the correct hole enlarged to 1/2″.
The bellcrank assembly is completed by a small bushing that goes between the two vinyl pieces. This can’t be installed onto the mixer yet as it needs to be greased and I don’t yet have a grease delivery system.

The next thing to do was install the motor on the mounting bracket but to do that I needed a 1/4″ drill bit to open some holes and for all the stuff that I do have, I did not have one of those. I bought one the day after and will get back to that next time I’m at the hangar.
2 comments for “Flaperon Controls (3.5 hr)”