Hoping to finish off the rear fuselage and get onto the mating of the two halves, I riveted the flaperon control cover.
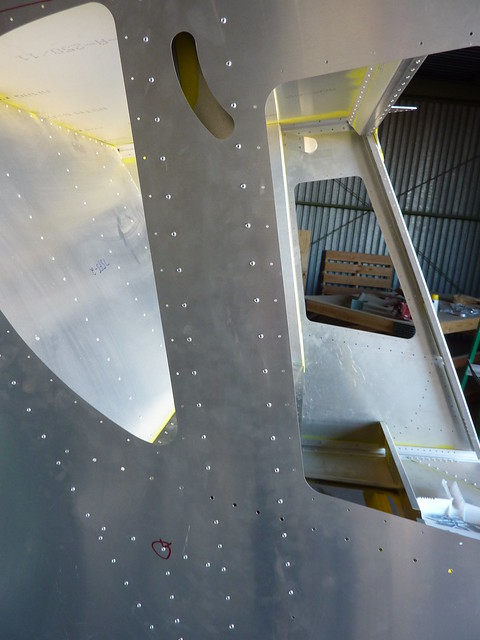
There’s a difference here from the video where they say not to rivet the hole line next to the window because the window and the cover share the holes. This is no longer the case, the window has its own set of predrilled holes.
I got the l-angle underneath the cover riveted to the cover
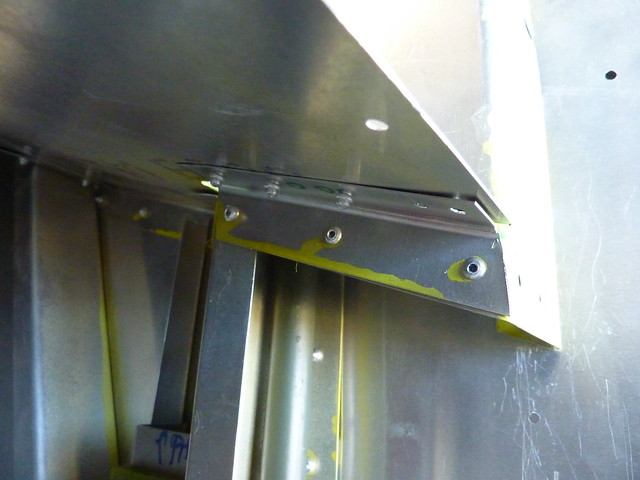
(though looks like I missed a rivet!)
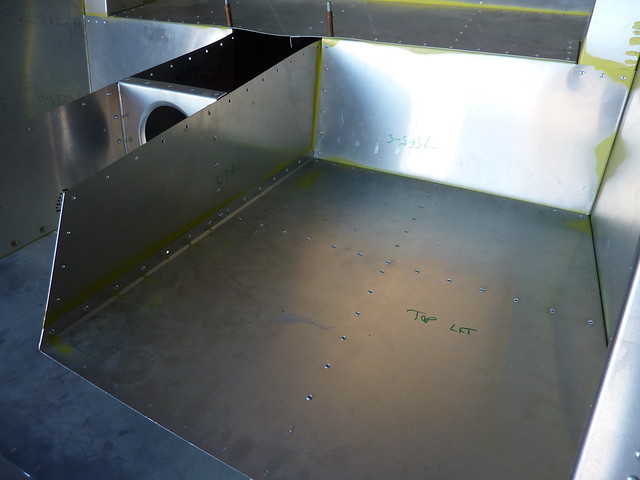
Next went the lower baggage backs
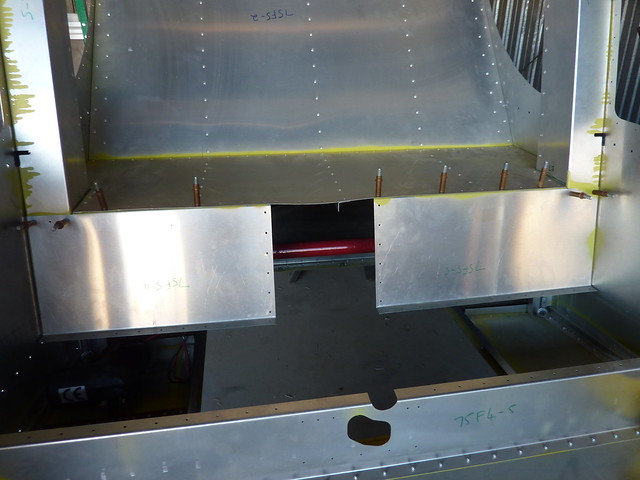
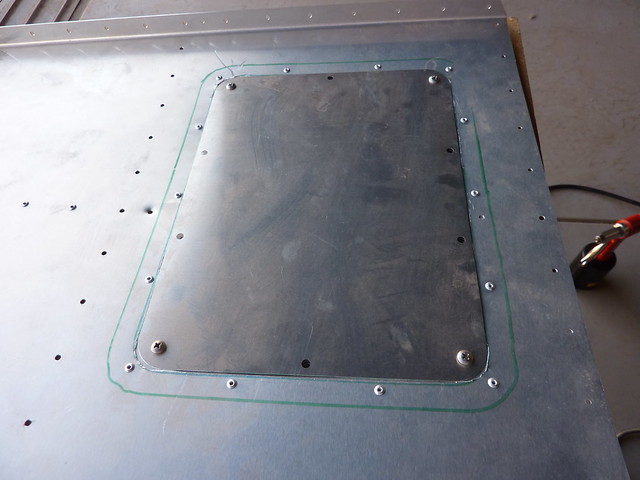
followed by the lower baggage shelves, at which point I realised I had never riveted the access panel to the shelf so I took care of that first
I was about to rivet the torque tube bearing channel but realised that it too had not been finished, the holes were still pilot-hole sized so I first had to expand them for an A5 rivet before installing.

Here’s a view of all of these things ready to go.
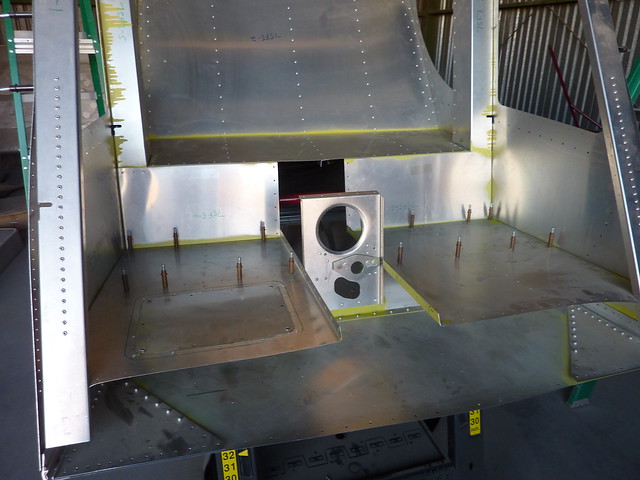
I riveted all of that and then clecoed the control tunnel sides into their place.
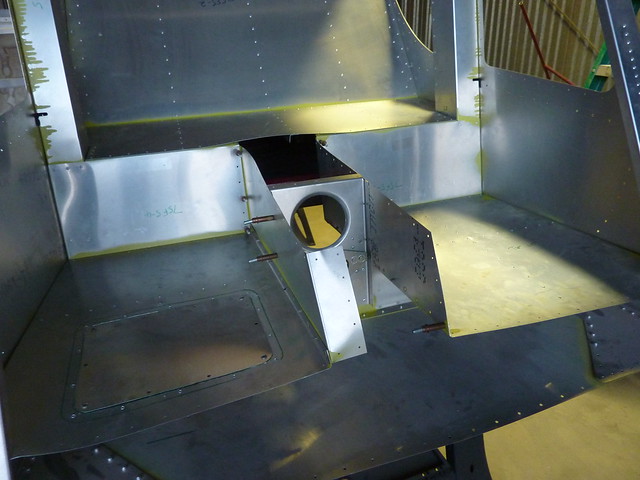
before riveting those too
So it all looks pretty cool but I discovered a problem when I went to cleco the control cover top to the assembly – none of the holes line up with the ones I have drilled for it. I think my mistake was not to have this in place when assembling everything to make sure there were no mis-alignments. They aren’t large, but they are there.
With this my plans to join the two halves are scuppered while I think about what to do. If I push it back far enough it will line up with one of the sides but then the forward edge doesn’t cover the front of the cover so at best there’ll be a gap there or at worst…..?
I’m going to see if I can identify a minimum set of rivets that will provide enough movement to realign everything but in reality I might have to remove almost all of them 🙁 Always two steps forward, one step back in this project.