Before the wings can be fitted to the fuselage there are a couple of things to take care of. First, the strut fittings and jury struts need to be primed
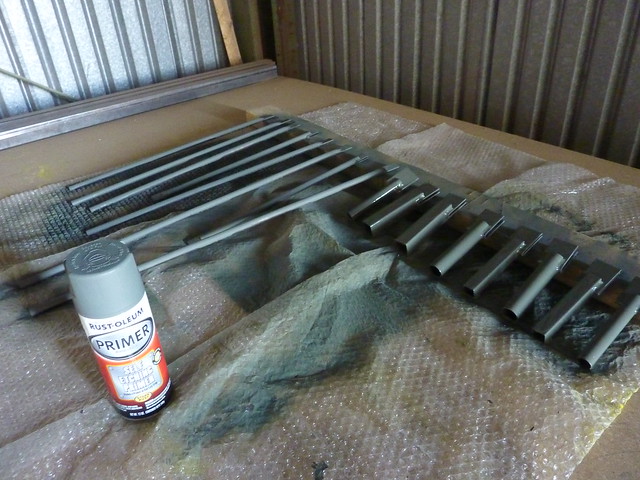
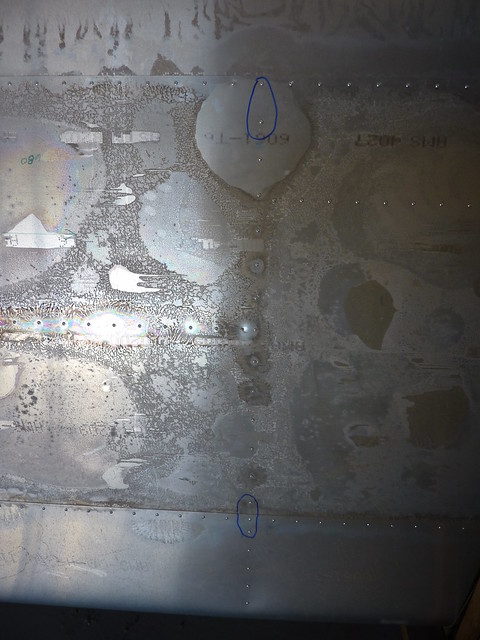
And secondly the jury strut angles need to be attached to the bottom wing skin. I hadn’t read far enough ahead to notice these items so their locations were already riveted which meant I needed to locate their position and remove some rivets.
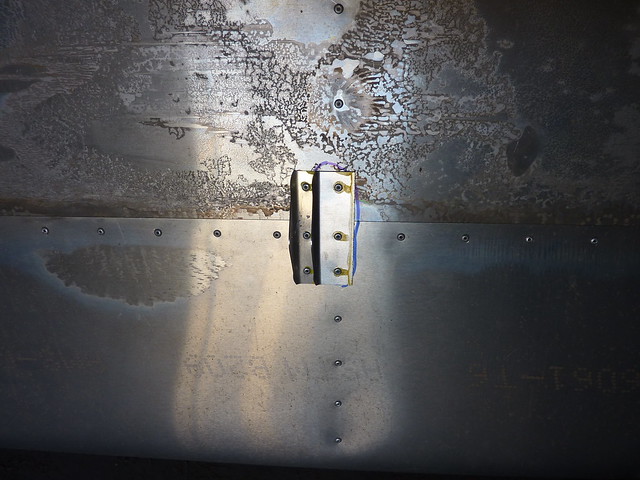
(this picture reminds me that thirdly I need to get working on cleaning up the skins too)
All but one of the rivets were easy to take out though of course the rivet backs are now in the wing free to rattle around.
The strut angles consist of a front and a rear and the I/B pair will only fit on one wing or the other, so make sure to match up the pre-drilled holes before drilling.
Once clecoed in place, I drilled the second line of holes through the wing skin. After all four pairs were done, I removed them, deburred and primed. When you rivet them onto the wing you need to make sure to do the back line of the larger angle first, otherwise you won’t be able to get a rivet gun in there.
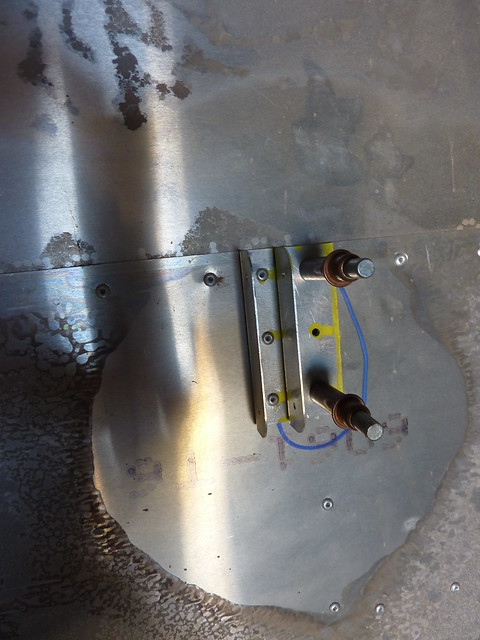
And the final install
I spent some time researching how to get rid of oxidisation on aluminium and read more about metal to metal rusting so later in the weekend I removed the cabin frame and went primer crazy on the surfaces where the steel will be in contact with the aluminium. Next visit I shall reinstall the frame and finally rivet it in place.
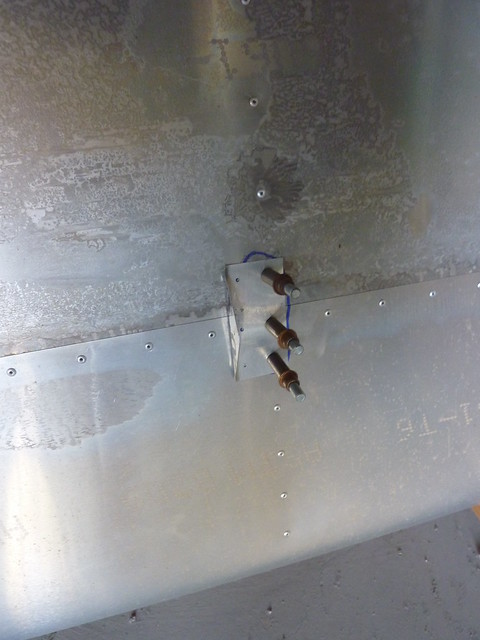
Also while there I connected the steering rods to the pedals and nose gear. But when I came to get the locking nuts out of the bag o nuts I didn’t find any. There was a space that was supposed to contain 18 nuts of the right type but the 18 nuts that were in there were way too small. The washers were also in there and they were the right size, so another mistake from Zenith. I think I am going to try and get these replaced for free.