Engine meets plane, plane falls in love.
My brother in law very kindly arranged to lend us the use of his Company’s engine hoist and so, after 18 months, the engine was finally coming out the box.
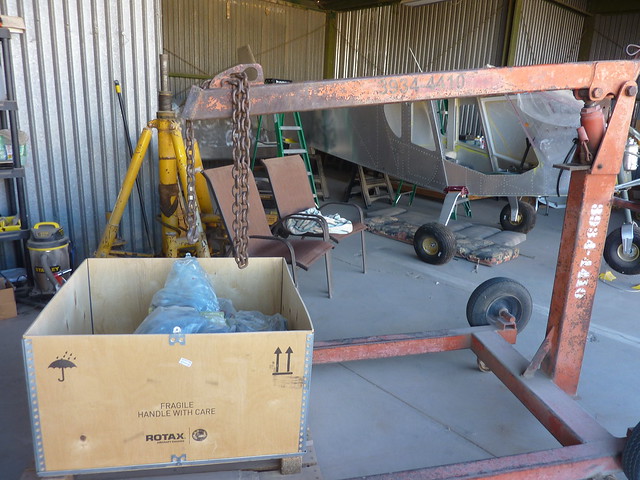
Allen offered to come round and help and we quickly realised that the engine was bolted to the crate and the crate would need to be dismantled before we could get to it. I hadn’t known that I needed straps to lift the engine with (didn’t the hoist come with a chain!) but fortunately the ratchet straps I used for the wings seemed strong enough and we soon had the engine dangling.
I had pre-drilled the engine mounts and to my amazement they were a perfect fit onto the mount holes on the engine.
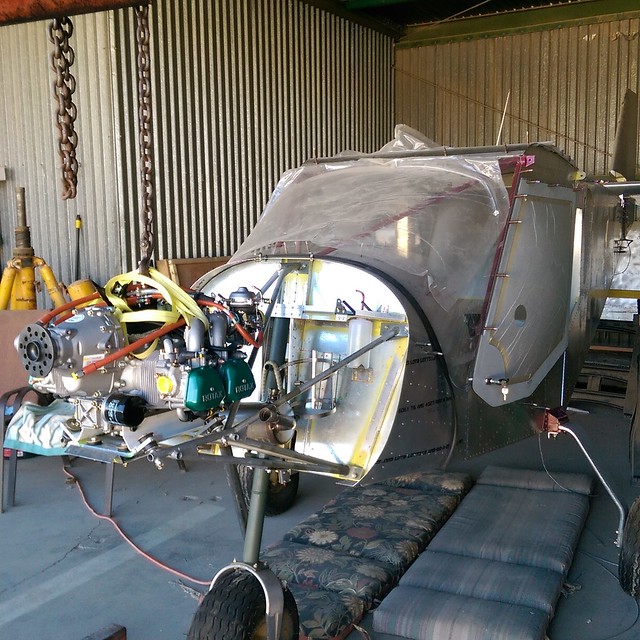
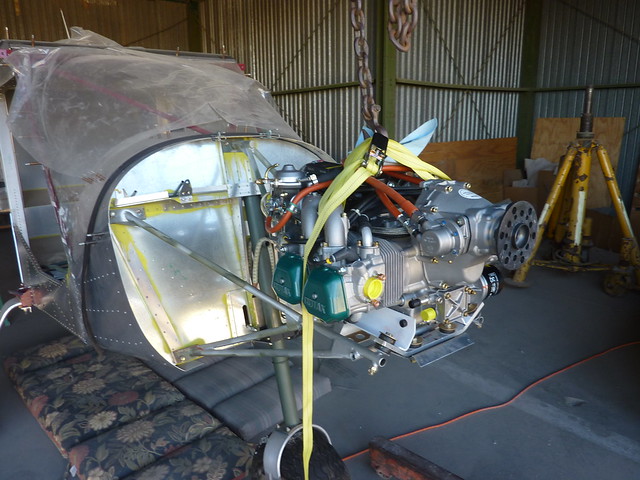
So then we carefully moved the engine over to the plane and sat it on the frame. For the first time ever the plane was sat on her wheels without a saw horse pushing her backside up.
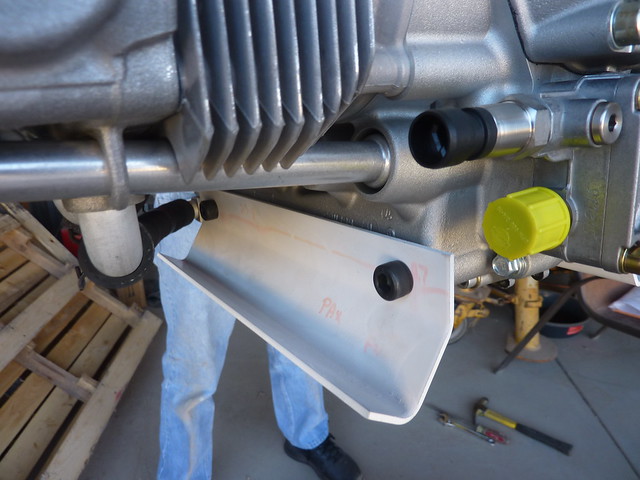
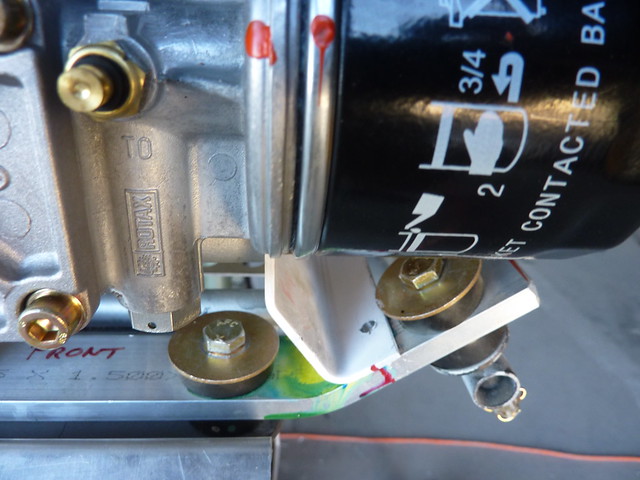
The photo guide warns to check that the hoses might rub on the mounting bolts and sure enough they do.
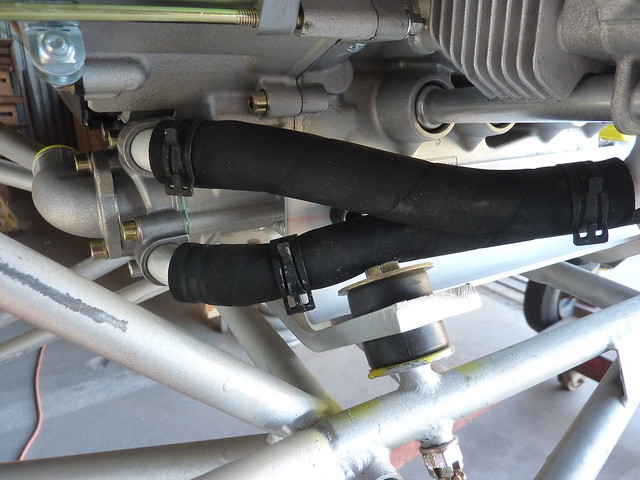
In the video they take the water pump off, heat up the tubes and rotate them to redirect the hose. We decided to take the photo guide route and use some cutoff radiator hose to protect it. I may yet get this solution validated further but I’d like to avoid heating up critical parts. The wear on that hose will definitely be a regularly checked maintenance item.
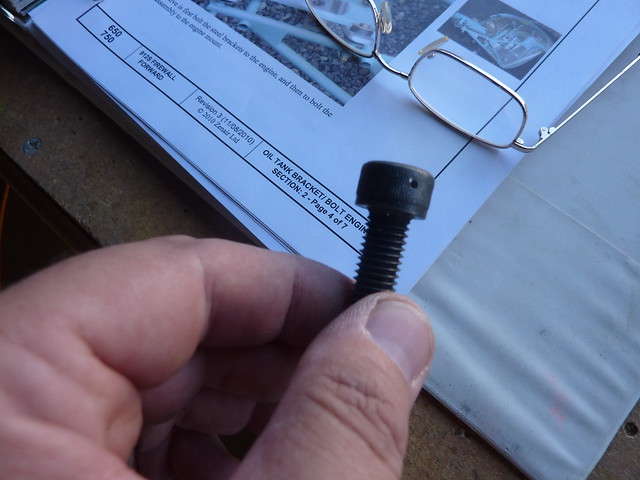
With the engine in place, we traced a centre line for the bracket onto the engine mount which could be used to locate the mounting holes. With the engine back off the plane I drew the line onto the lower mount and pilot drilled a hole. Also, while the engine was off, we removed the mounting bracket so that I could drill a hole in the bolts for some safety wire. This seemed like something the factory could have supplied.
Different pictures suggested safety wiring the bolts to the mount or to each other, I went with the mount.
https://www.flickr.com/photos/ukpylot/22657110083/in/dateposted/
Putting the engine back on I backdrilled through the frame and the mount to make the lower bolt holes.
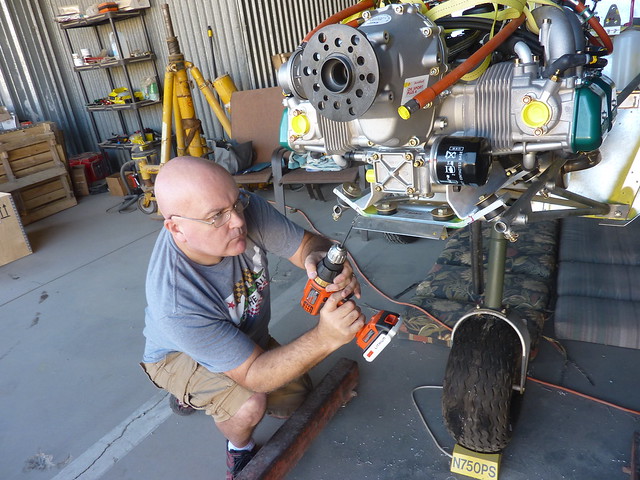
A rare picture of me working – that looked serious! Here’s a picture of one of the holes in the mount
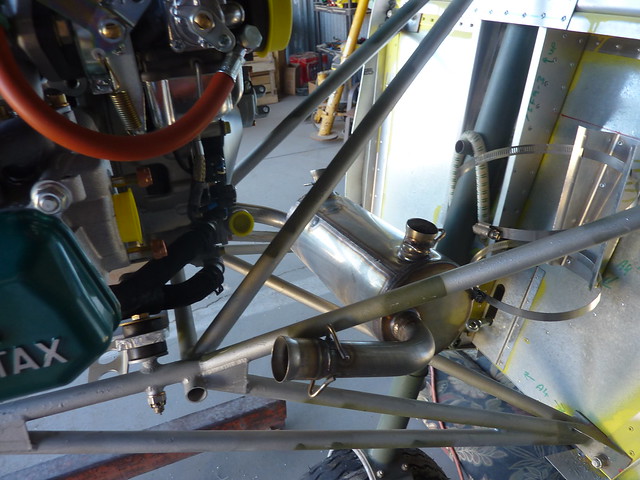
And that was it for the weekend. We spent a lot of time trying to work out where hoses were connecting to and in doing so could not find any of the oil cooler hardware. Fortunately I was able to find that later after a very thorough rummage through everything box in the hangar. They were hiding in plain sight.
As part of the head scratching Allen had wrestled the muffler inside the engine mount, a not insignificant event as getting all of the sticky out parts inside the tubes was quite difficult. It will stay in there now unless there is a very good reason for it to come out.
Next up will be to remove the engine again so I can deburr the lower bolt holes. I also bought some smaller bolts as the one suggested by the plans need (at least) two washers to be legal. After that, put the engine in place once (ish) and for all and start assembling the various parts. Oh, also while the engine is off, I need to loosen the oil return line fitting as it is near impossible to do once the engine is back on; we didn’t have the 21mm socket required until now.
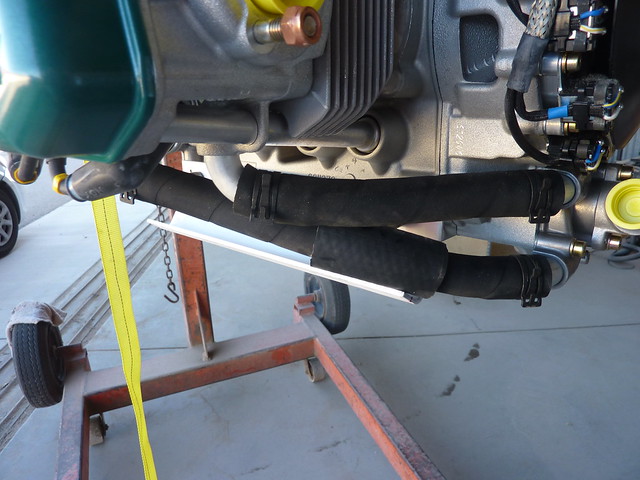
Couple more pictures of the engine sitting on the mount.

I like this one with the doors on, if the wings were on, this would look almost finished!