The big news is that my Dad is in town for the rest of this year and although he initially appeared hesitant to get involved on the project, once he saw what was needed he seemed very much into it. And having someone look things over, hold stuff etc made it a lot easier and enjoyable.
I’d be curious to know how kit builders decide what to pre-drill, pre-rivet etc as the first task for this day had me baffled. The spar comes pre-riveted down the edges with the exception of the locations of the outer holes for the nose ribs, these you have to mark and drill yourself.
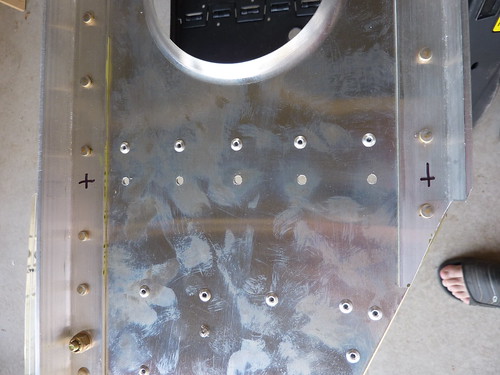
The first hole I tried to drill ended up breaking my drill bit so I had to order some more, but eventually they were all drilled out for the ever-popular A5 rivet.
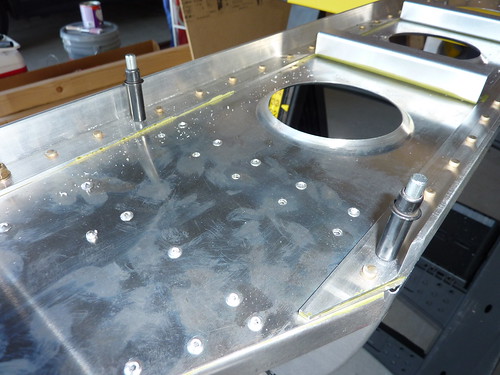
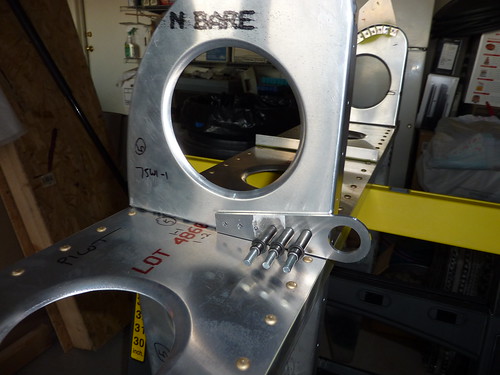
Turning the spar on its side, we attached the root nose rib to the spar by backdrilling through the pre-drilled holes into the rib.
It took us a while to work out that the flange went under the spar cap but with that done we positioned the root rear rib on the other side and backdrilled through the nose rib to join them together on the spar.

A doubler piece is provided for keeping the two part together and this needs to be marked, cut and pre-drilled
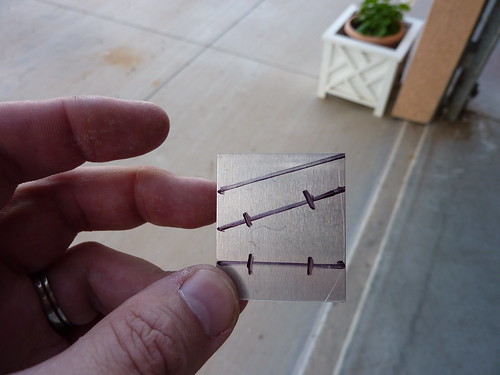
and then cleco’d to the ribs, then drilled to A5.
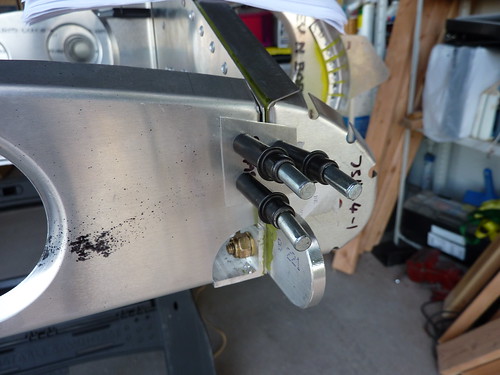
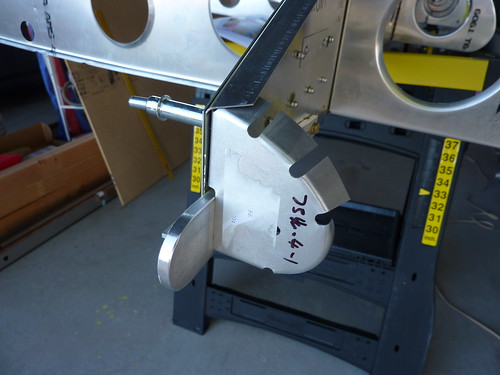
Our last task of the day was to mark and drill the location of the tie down hook on rib number 5.
It was then removed and put in the box of parts for later, after the skins have been drilled.