Last we left, my control tube was stuck unable to be removed from the bearing. Allen quickly solved that problem by pulling the tube forward and identifying that the bushing inside the tube was sticking out a bit. A little filing and the tube came out like butter. My Dad had actually suggested this last weekend but I had not tried it.
With the tube out, we mock assembled the bellcrank and control tube with the proper washers, marked a position for, and drilled a hole for the cotter pin. Next we put the tube back into the bearing, attached the bellcrank, control tube and control stick – ready for cables! Except not.
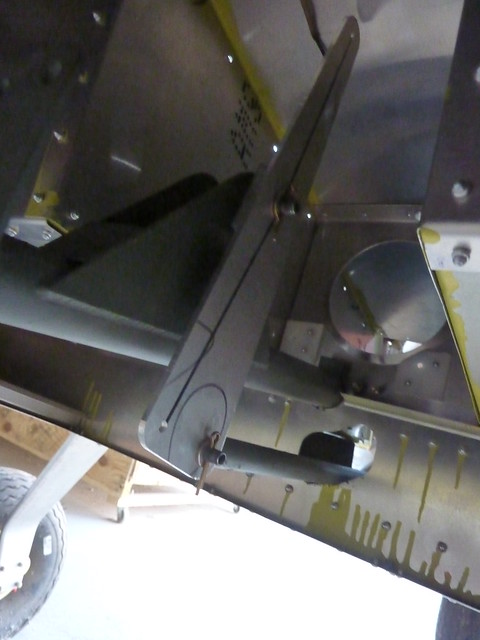
On the end of the tube goes a steel shim and a stop ring – there’s a hole in the ring and tube through which to put a bolt. This keeps the tube from moving and, I believe, helps bear the weight from the elevator. But with the tube all the way forward (there’s a welded tab that stops up against the bearing) the hole for the ring was not visible enough to put the ring on.
Ok, you can’t see the hole in that picture but take my word for it that the tube needs to come further forward a bit. So this is a proper problem. After a lot of head scratching and measuring I came up with what I think happened. Way back when I was installing the bearing, I had messed with the cabin sides to get everything somewhat aligned and this in turn has led to the bearing leaning back rather than being upright.
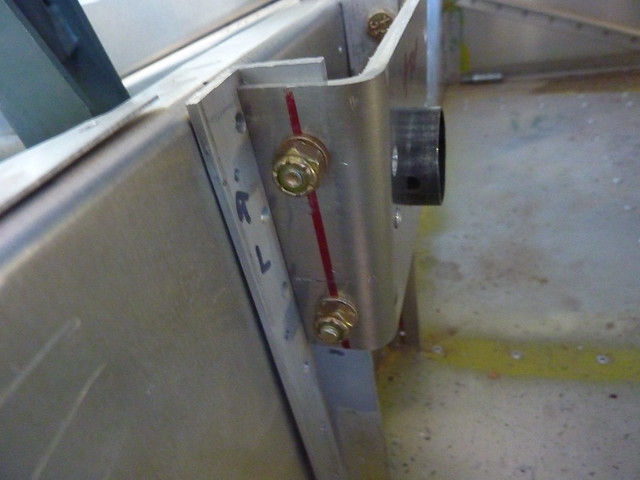
You can’t really tell anything from that picture (other than my drilling was out of whack that day) but if I unrivet the sides and push the tube forward so that the ring fits on the end, I can then redrill the bearing into the cabin sides and the tube will be correct. One of those “this doesn’t seem like too big a deal moments” that bites you on the ass! I wonder how many more there will be.
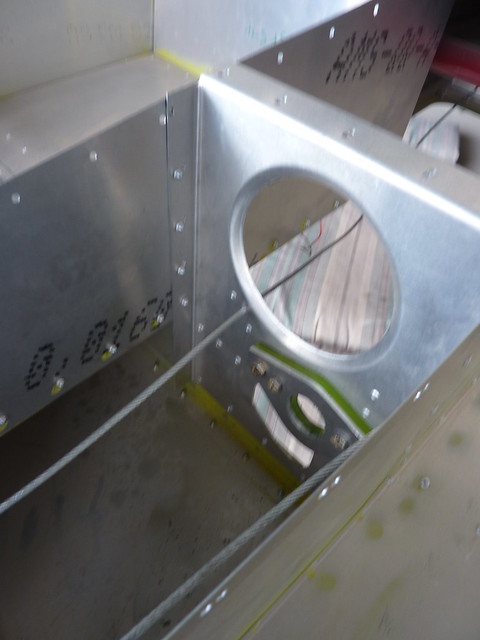
Allen had bought a big telescopic stick that was fantastic at getting the control cables through the fuselage. We got the elevator and the rudder cables through the rear fuselage and to where they are supposed to go. I showed Allen the fairing and fairleads that cover the rudder cable outlet. By my own admission I’d done a poor job of these and Allen wanted to see how well they would work. So we put the rudder on and hooked up the cables.

Placing the fairlead inside the fuselage we found that they really did not fit well or help with the cable. We messed with it inside and outside but there really wasn’t any where it seemed to go where the cable didn’t rub on the metal edge of the slot.
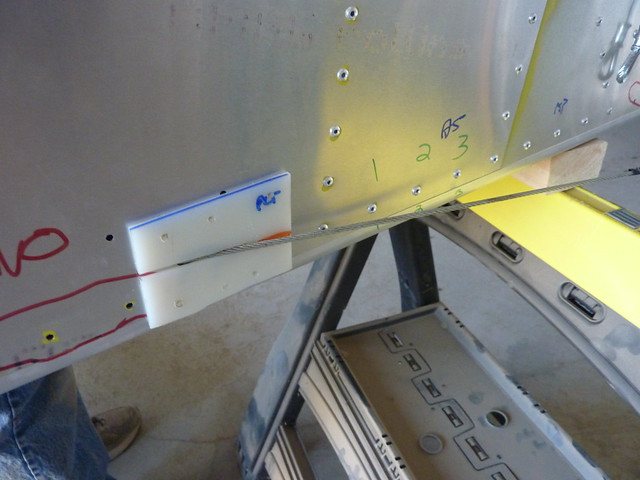
I’ve ordered new fairings and fairleads and started some research on how to install them. It seems that everyone has made the hole a lot bigger, which certainly would be a help. At least one person has put their fairlead on the outside, and I notice a couple of people installed their fairlead “backwards”, with the slot facing the other way – both of them said this was a big improvement. Others have said that if you follow the instructions exactly it works out fine. So I’ll get the new parts and, hopefully with Allen’s keen eye, we can get them right. I certainly don’t want those cables fraying.