In keeping with my common principle of moving on to something else before finishing the first thing, I’ve decided to install the seats. It isn’t quite as random as it sounds – it requires all the under seat wiring to be done, as well as all tubes, wires, and cables routed from the back to the front. And all those things go to…… the panel.
First up was to drill the seat channel out to the final size. The passenger side is fine but for reasons long lost to the archives of this blog, the holes on the pilot side were a bit of a mess and so I had to drill for A5 rivets to get the holes lined up.
I noticed that I hadn’t drilled the holes for the seat belt attachment, so I took care of that.
It is going to be interesting putting everything together such that it can be riveted, all a very tight fit and I’m not sure how some of the rivets will get pulled.
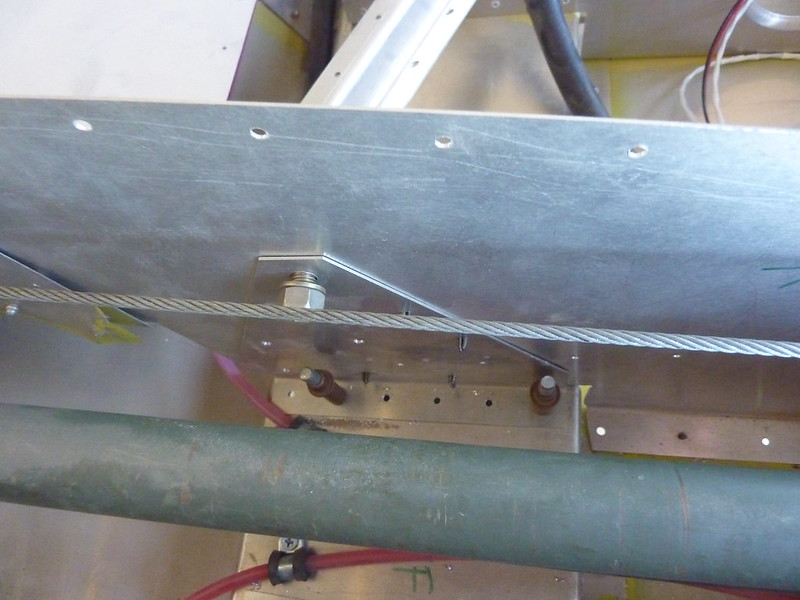
Before riveting them in place I checked the fuel line connections behind the channel and found two of them quite loose. So I had to get the metric wrench out to tighten everything up.The pilot side is ready to rivet but on the pax side I need the channel loose as I have to route the coax cable from the antenna to the radio.
To do this I’ll have to remove the side channel to enlarge the hole the wires from the wing are going through. After that I’m not sure how to route the cable to the front. As it stands the BNC connector is too big to go through the hole in the seat channel (a thought I had today was that maybe it will fit without the grommet) so I either cut the connector off and re-install a new one. Or I’ll route it through the side which means it will be visible to the passenger in the baggage compartment. Oh, and I need a new cable, the 10ft one I already had (and have no recollection every buying) is a little too short.
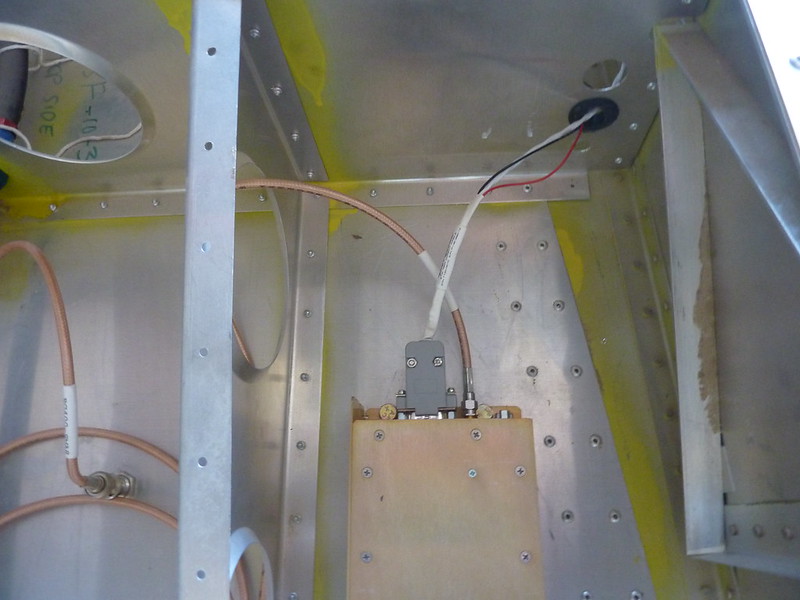
Under the passenger seat, the transponder and antenna reside. I bolted the transponder in place and hooked up the antenna cable and the wiring harness.
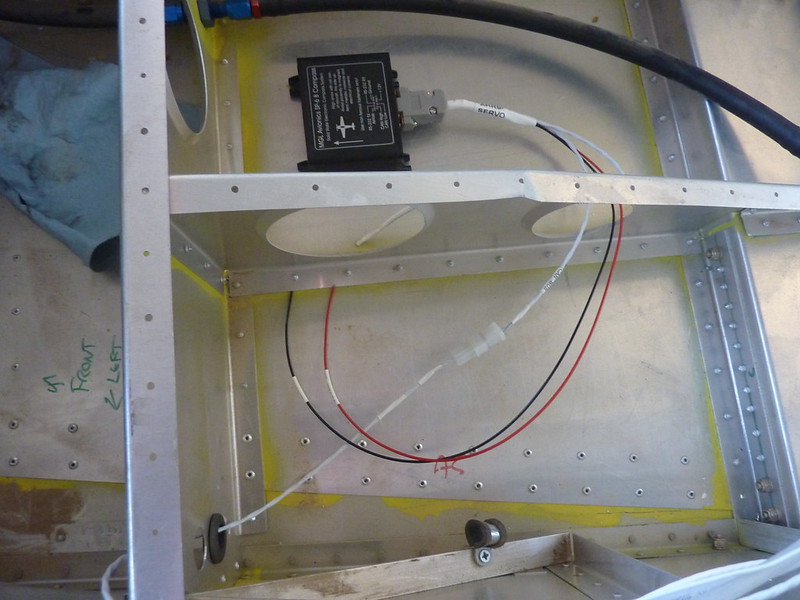
On the other side goes the SP-6 electronic compass. To avoid interference from mounting hardware, this is velcroed to the floor.
I was excited to find that my wiring harness kit I bought from MGL included a super long CANBUS extender that will go all the way to the panel.
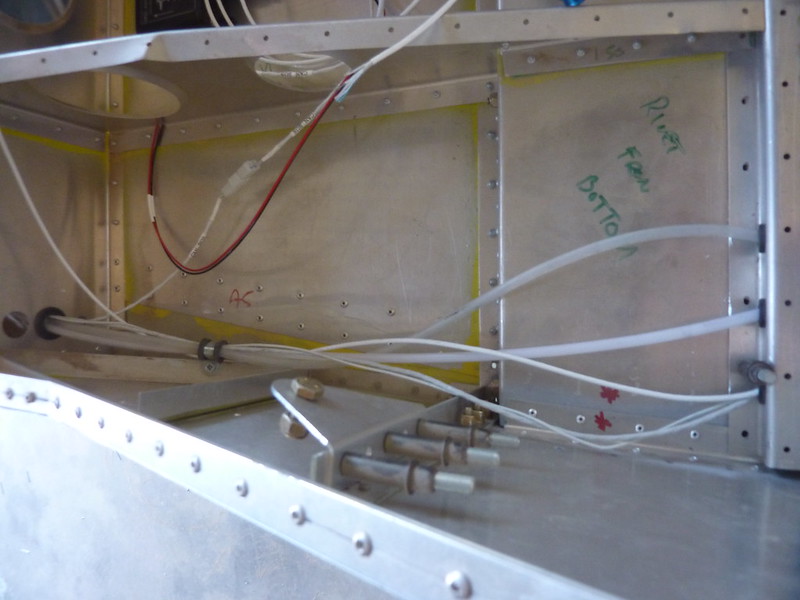
Finally I routed all the other cables from the back through the fastener and grommet.
I’m not sure I will keep the fastener, or at least take the pitot/static tubes out as I think they might be getting squashed and presumably that’s a bad thing when measuring air pressure.
To complete the underseat shenanigans I need to route the wires in and out of the stick grips.
(Of course I shouldn’t really install the seats until the panel is installed and tested, otherwise if something isn’t working I’ll have to take the seats up, but that kind of thinking hasn’t stopped me before).


