It was almost four years ago that I started out on this project, with no idea if I had the skills to do it (and still don’t!), and today I got to see those first fruits of my labour mature (cue emotional tear-shedding music): installing the rudder onto the fuselage.
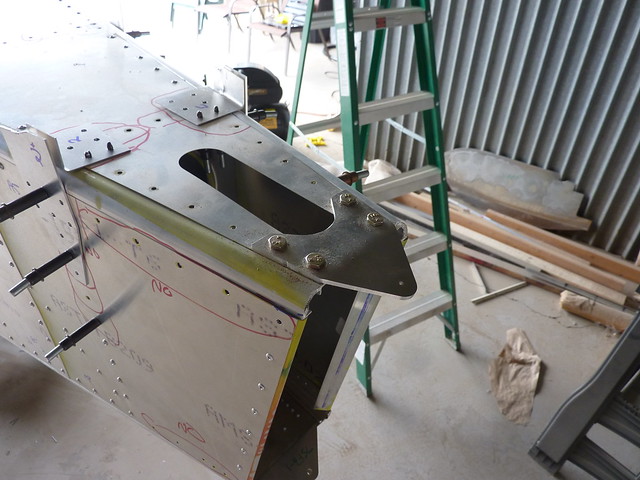
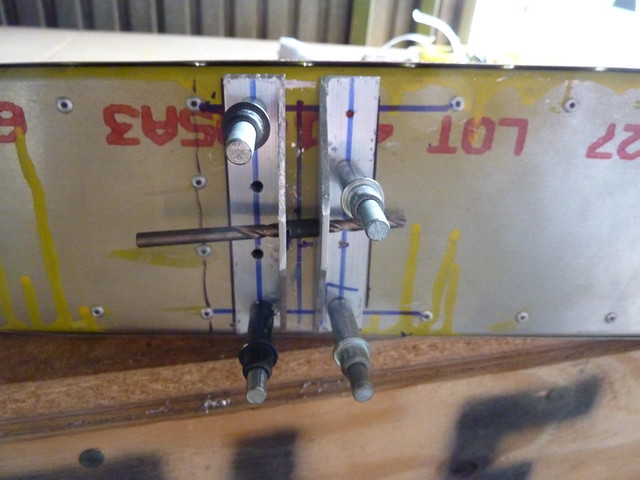
I started out the day tidying up some loose ends at the back, trimmed the longerons a bit more and installed the bolts in the upper rudder hinge plate
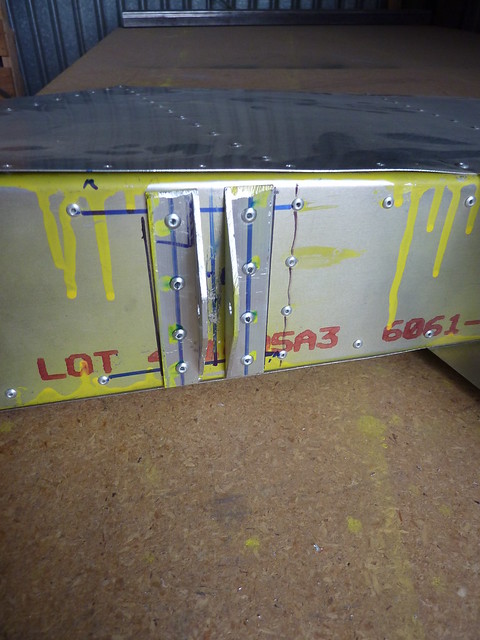
and riveted the lower rudder hinge plate
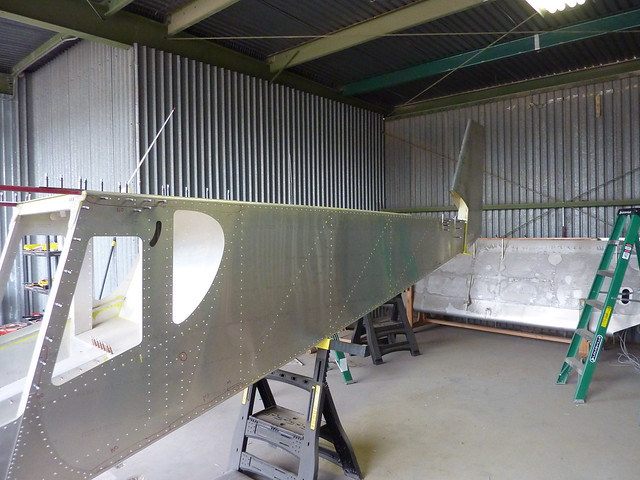
I then took the rear fuselage angles, drew centre lines on each and pilot drilled to the rear of the tail.
A little deburring and priming later and they were riveted in place.
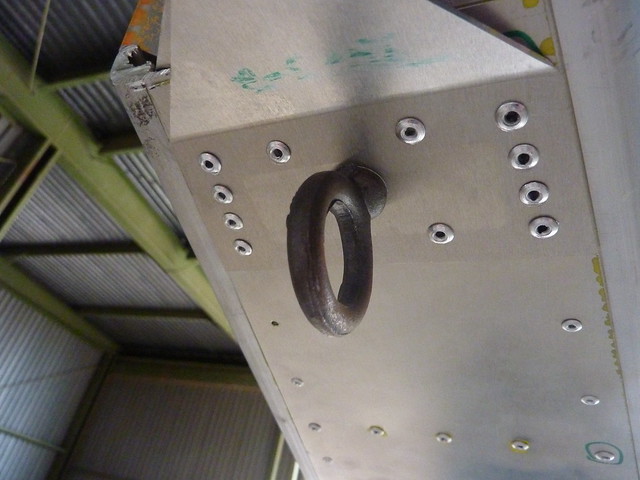
Next up I riveted the rudder horn to the rudder (funny to see that I had primed both sides).
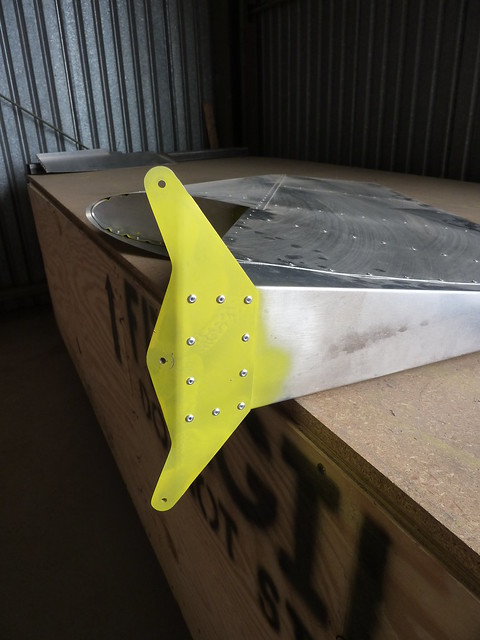
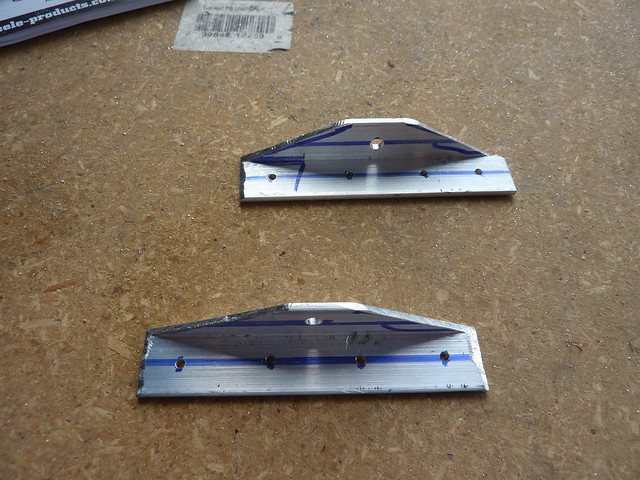
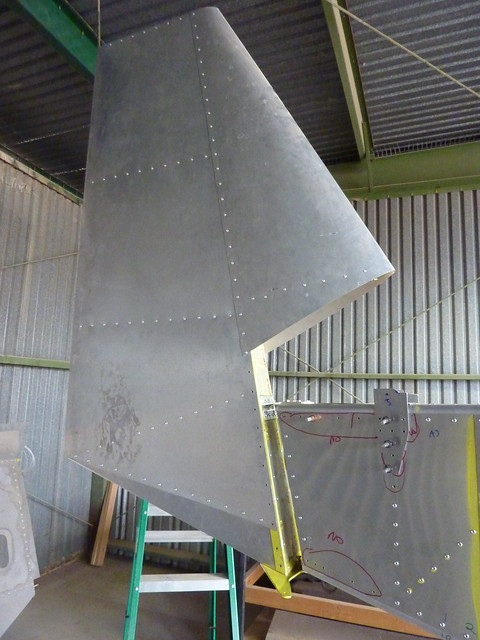
On each upper rudder hinge angle I marked and drilled the location of the bushing hole, and on the opposite side a line of rivets. With these holes drilled I trimmed the edges with a hacksaw per the plans.
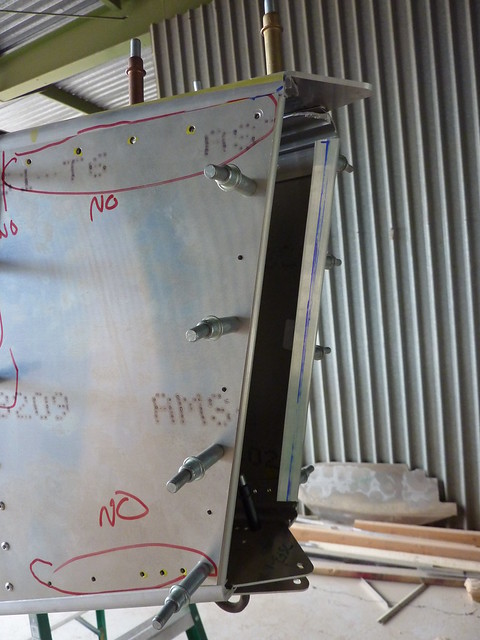
I had tried these next steps on my own earlier in the day and it was clearly going to be easier with another person. Fortunately Teri wanted to come play in the hangar so I had a much appreciated helping hand. Anyway, we put the rudder on the lower hinge and held the rudder in place and marked the locations of the hinge brackets. With the positions marked, we pilot drilled each hinge in place.
A little deburring and priming and we riveted them to the spar.
Much like the cotter pins from the day before I could not find the bolts that go with the rudder hinges, I don’t know if they are missing or just lost. More replacements to buy, good job they are cheap. I really wish I had inventoried the tiny parts now.
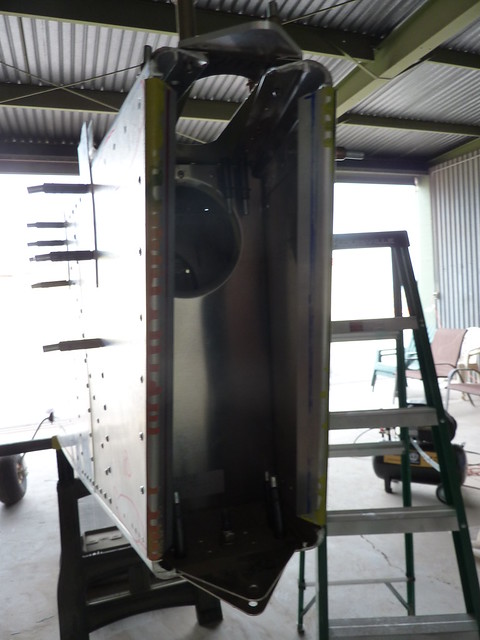
So I stole two bolts that weren’t the right length and we took the rudder to the hinge and installed it on the fuselage for a trial fit. The holes in the upper angles didn’t quite align so I had to muck about with those a little but eventually we had it so that it was on and moving freely. Here it is with a proud daddy
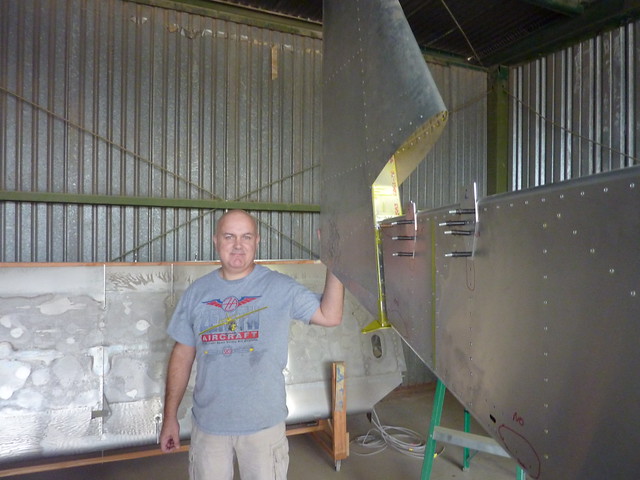
Hey, I’m even wearing my Zenith shirt!
I suspect that when it comes to final installing with the bushings etc it will be a bit tricky but for now it fits and looks good!
Next up: back to the tail.
2 comments for “Rudder Install (1h 30m)”