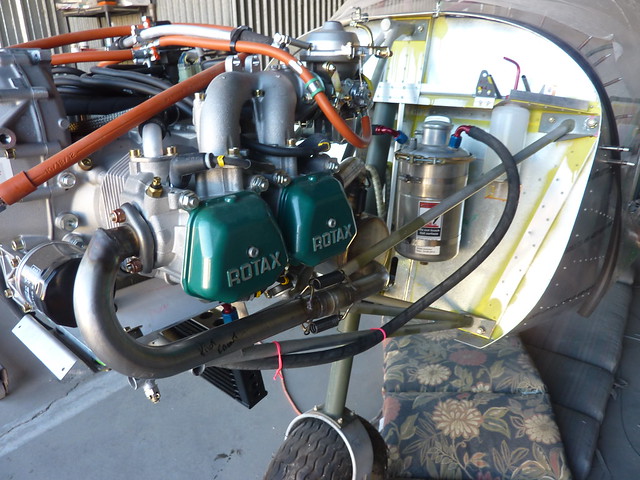
For a while there was a plan, a hope, a fantasy(!) that the plane would be done in time for my 50th birthday. Alas, that happened on Monday and as you might guess from previous updates I didn’t make it 🙂 But I did take a day off and was joined in the hangar by Allen and his son Scott.
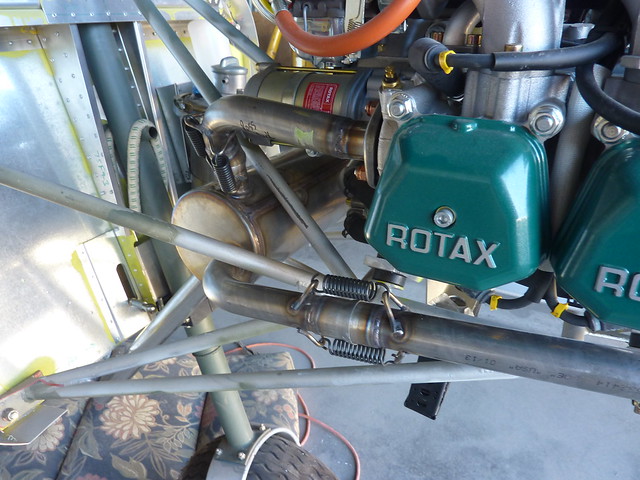
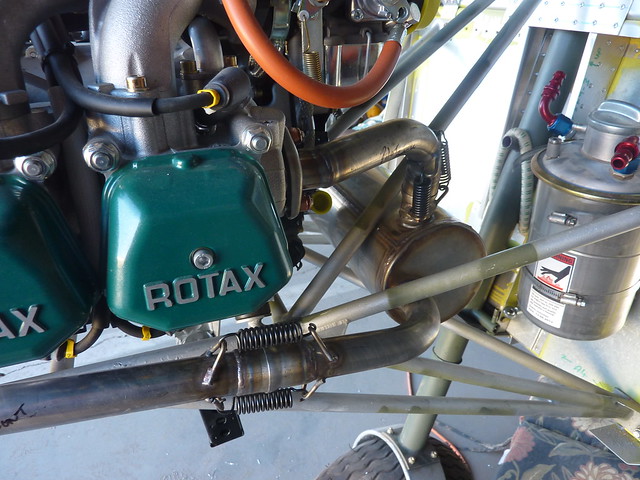
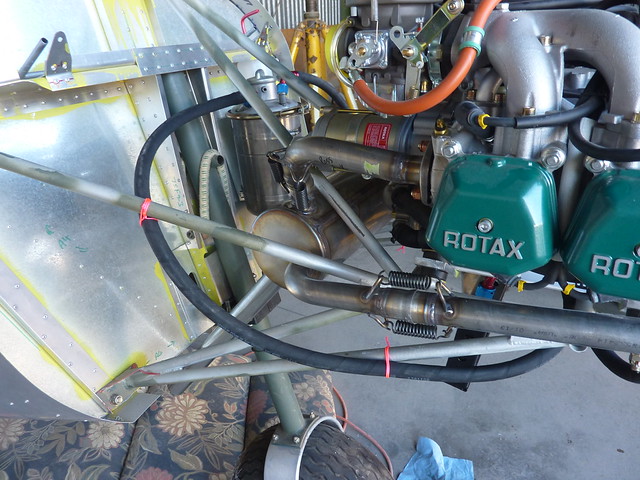
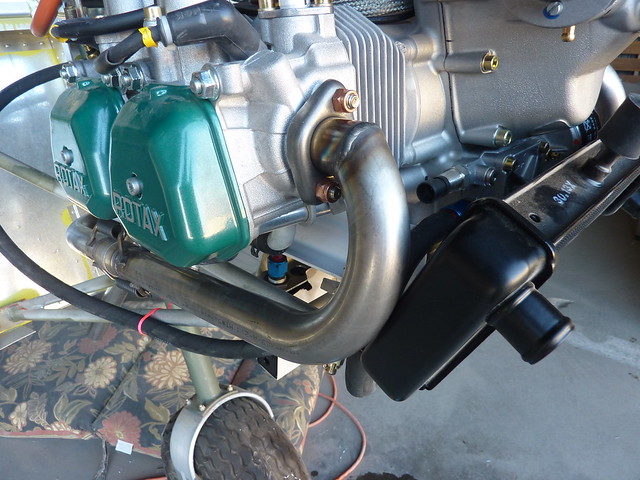
The first thing we did was to hook the muffler up to the engine. For this you just have to join the pieces together with the springs and screw the bolts through into the engine. Scott came up with what would be the first of a few engineering innovations by fashioning a hook for the spring out of a piece of wire. Using that it was easy to pull the spring up over the attachment point.
Next (actually, probably before that) we secured the bolts for the engine mount into the frame. I had bought some smaller ones but had mislaid them in the house so we went with the ones provided by Zentih but used two washers to get an acceptable bite. Getting the rear ones in while the hoses were on was a challenge but Scott (again) come up with a trick – used the wire to wrap around the bolt to put it in place while a flat head screwdriver pushed it into the hole. Some torqueing and hopefully the engine is on and not coming off (unless we want it to).
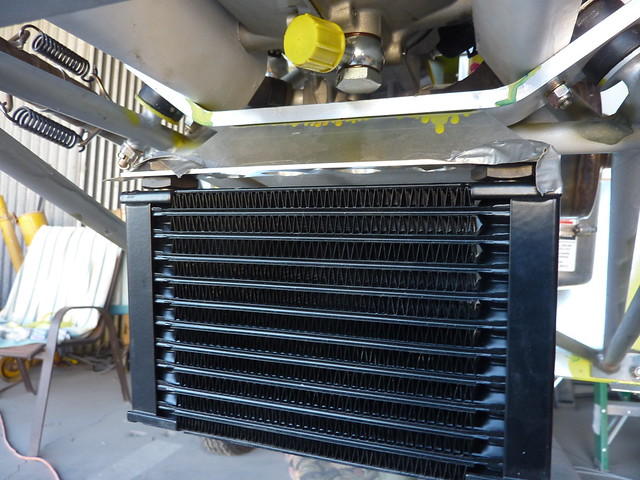
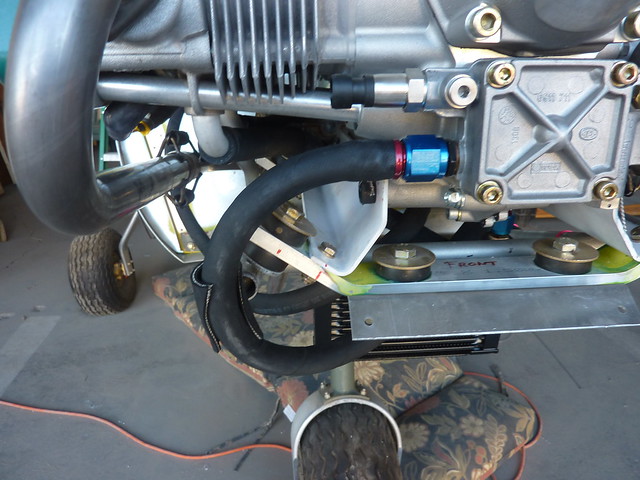
Next up was the oil cooler that fits under the engine.
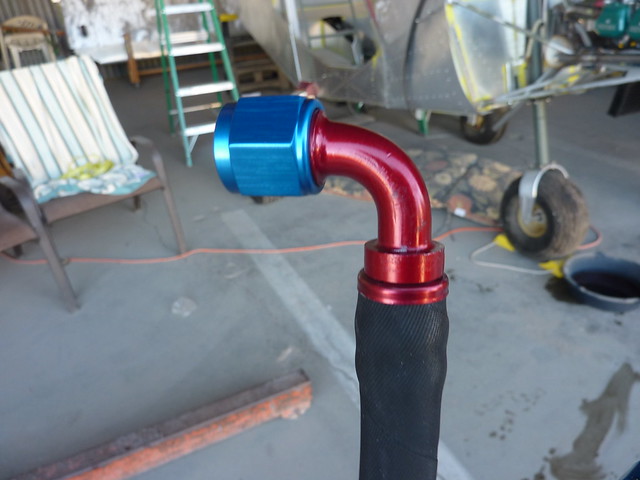
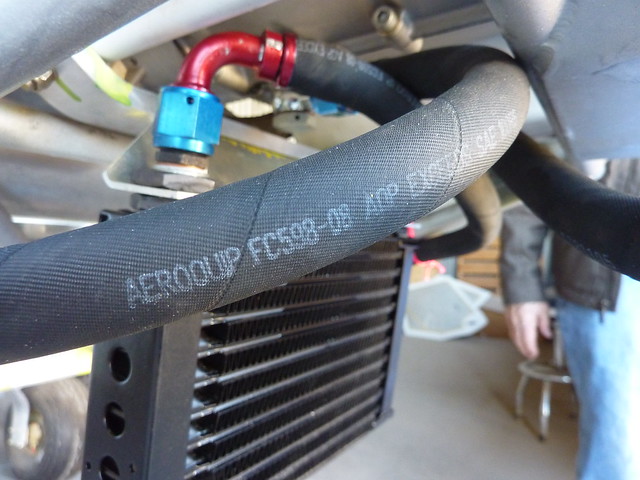
The oil system uses socketless hoses that on a previous attempt turned out to be an absolute pain to get the hoses over the fittings. Some research said just to oil them up pretty good which is what we did. Oh, and we also had Scott who clearly had eaten more Weetabix than we had. Look at this for a lovely job.
It was then a case of choosing a route for each of the three hoses, cutting it to length, putting on the other fitting and attaching it in the right places. Here’s the hose that takes oil from the oil tank and into the oil cooler.
The oil has to come out of the cooler and into the engine.
The hose rubs up against the engine mounting bolt so we need to come up with a solution for that. The piece of hose you see in the picture isn’t going to work. The video has some “stand offs” in various places and if I can find out what those actually are, maybe that would work. Finally, here is the hose that takes the oil from the engine and back into the tank.
The tank works by having a mesh inside it that stops any gunk from getting into the oil that goes back into the engine. It is very important therefore to get the in and the out hoses correct!
It is hard to tell from this picture but it is very Clapham Junction where the hoses all come together under the mount.
A most excellent morning’s work and I was feeling pretty good about our progress, can’t thank Scott and Allen enough. They left, I had some lunch and decided I would return to mount the radiator so we could get a running start on the hoses next time. I should have quit while I was ahead.
The radiator sits top and bottom on some dampeners which I screwed in and then went to slot into the engine mount, only to find that the holes weren’t the right size. Not having a 6mm drill bit I found the closest Imperial measurement and went and bought one (15/64″ if you are wondering). Enlarged the holes, dropped the radiator in and used the locking washer and nut to secure.
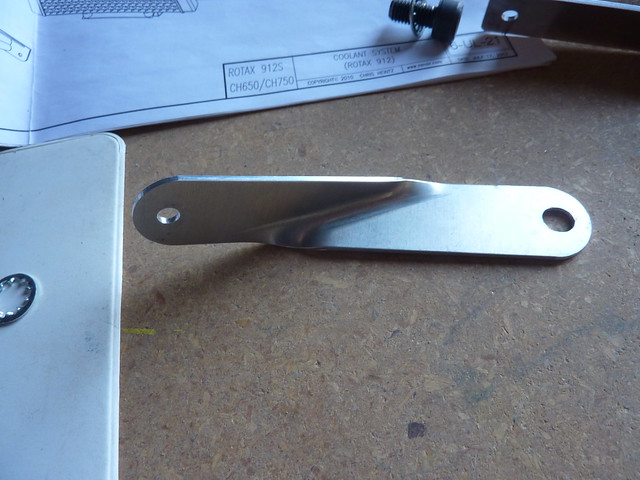
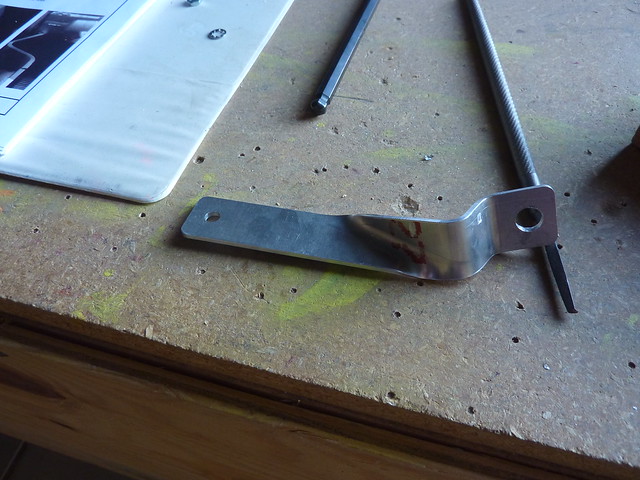
The top of the radiator is held in place by two brackets, both of which had to be drilled out for the bolt (10mm bolt). Here’s the pilot side one
and the passenger side one
It is has a weird shape to it because it has to fit around the vent tube on the fuel pump. I had a real hard time getting the passenger side one to fit around the tube and at the same time make a good contact on the radiator. After doing the best I could the radiator is sitting right up against the muffler on the pax side.
The fact that the bracket doesn’t snug up against the radiator clearly indicates that it isn’t on right, so maybe when that is fixed, the radiator will move off the muffler. Anyway, realising my mistake in not going home after lunch to celebrate a good day’s work, I shut up the hangar and went home to cry.
Last night I had a small heart attack after coming to the conclusion I had the radiator bracket on backwards (and therefore we’d have to take the engine off to fix) but reviewing the plans and my photos I think it is correct. On the one hand that is good news (no engine removal) but on the other hand that would have been an obvious and easy fix as to why the radiator wouldn’t align properly. So now when I get back to the hangar this weekend I will need to see what is wrong. Hopefully something easy and obvious.
While looking around at various install posts elsewhere I see a lot of complaints about the small gap between the radiator hoses and the muffler, and a lot of people are wrapping their muffler in some kind of heat shroud material that all but cuts out the heat externally. I think that will be a good idea.
I’ve also found a solution to the parking brake problem that I thought I had, but wasn’t sure. There is no parking brake in the plans but I’ve always wondered what do you do if you are parked on any kind of slope and on your own? Jump out as fast as you can with the chocks? This kit looks like a winner – Matco parking brake – though I’m not real sure if I need the single or dual valve version. The handle will work just nicely in the centre console.
