I hope, dear reader, you had a very merry Christmas and that 2016 brings all manner of good things your way. For my part, I had the entire time off between Christmas and New Year so you might think I could have finished the whole thing in that time but of course that is not the way of the build.
Much of the time was spent planning the fuel lines, and re-planning the fuel lines, and waiting for parts to arrive. I had no idea this would be so complicated, and of course it wasn’t helped by not really understanding some of what we were trying to do. If I’d been writing an entry every day like I usually do I would go on about all of these things but instead I’m just going to cut to the chase for once (ignore the fact that I’m already two paragraphs in and haven’t said a thing of note).
For a Christmas present, I got the battery box that will eventually hold my Earth X lithium battery.
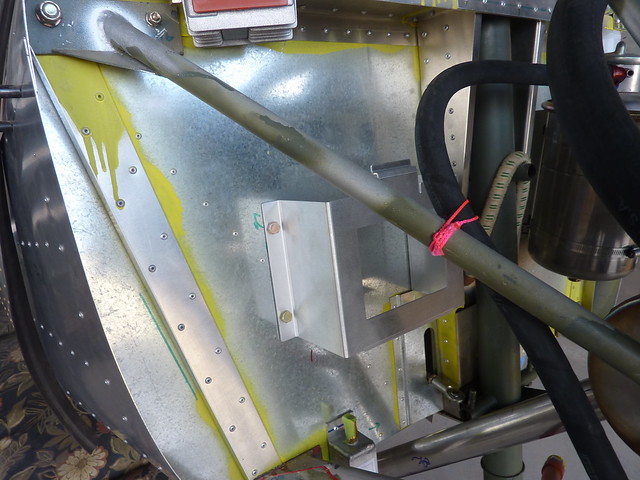
With that in place, we knew how much room we had for the fuel line on the front of the firewall (not much).
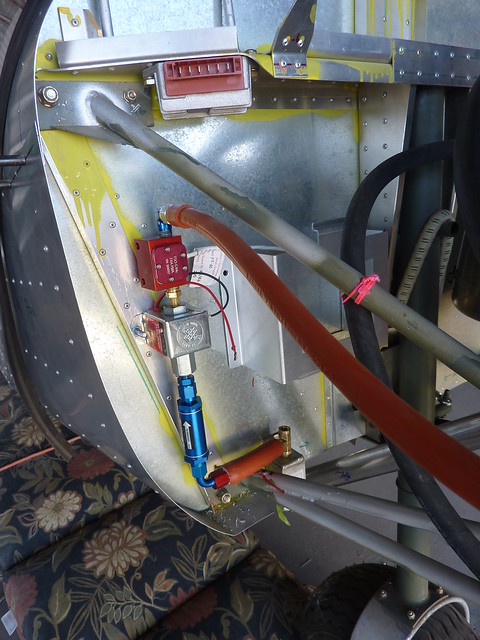
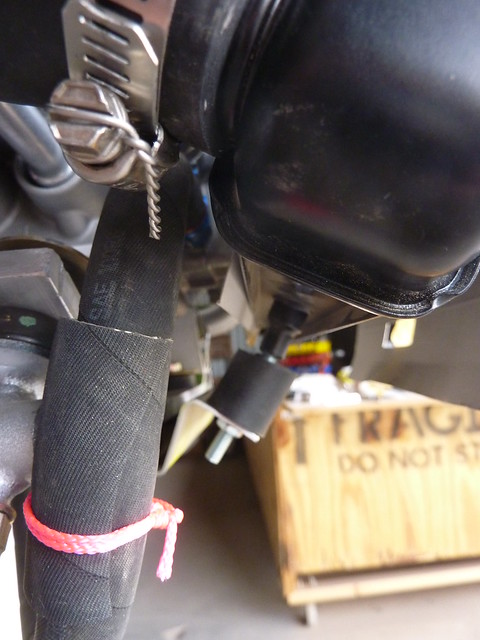
For those interested… the fuel line comes in from the cabin to the gascolator. There’s a tee in the ‘colator where the fuel return line from the engine will come in and then all of the fossily goodness goes into the fuel filter. From the fuel filter the line goes into the electric fuel pump, out through the fuel flow sensor and into the engine. Or at least that’s the hope but even if it doesn’t, it sure do look perty.
A fellow builder, Walt Synder up in Corona, gave me the idea that I want a bracket to bolt the fuel flow transducer into just for a bit more stability. An l-angle wasn’t large enough so I may just take a bit of scrap skin and bend it to make a bracket.
After this there was a lot of head scratching as to how to get the fuel lines from the tanks to the front and I think we have a plan. I need to order some more fittings for this weekend. I’ve discovered Summit Racing which must have the best shipping and return department anywhere. I can’t say enough good things about them – they upgraded my ground shipping order to next day when the order was too close to Christmas Day. They did it again for New Years Day. Fantastic service.
I took a look at the throttle and choke cable install. I got as far as putting in the cable adjuster sleeves.
From there I had no clue what to do. I can see the route that the cables take to get to the appropriate parts on the engine but how they attach there I don’t know, and the photo guide is very little help. The photo guide also shows the cables in nice white sheaths but I don’t seem to have them in the kit.
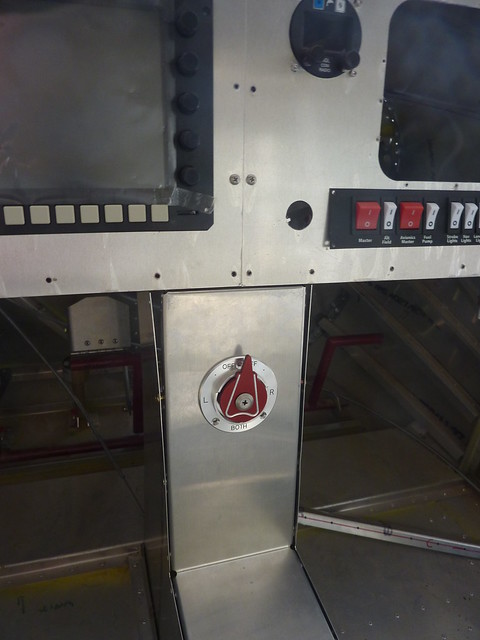
While I ponder that, I installed the fuel valve into the centre console.
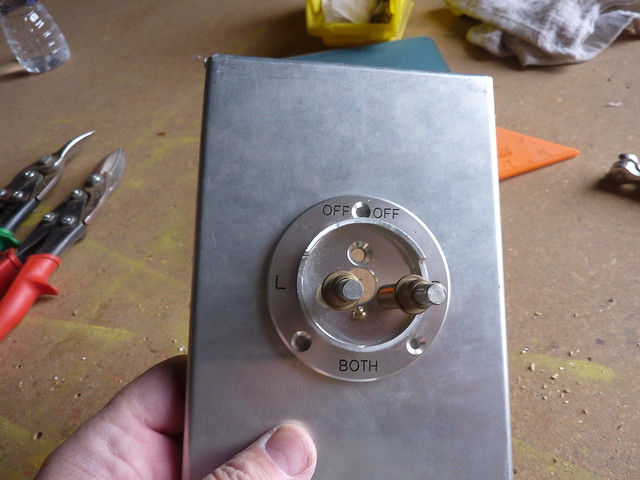
I had planned to put it horizontally but it potentially interferes with the rudder cables so it goes vertically instead.
Here’s a back view showing how much room I have for the fuel lines.
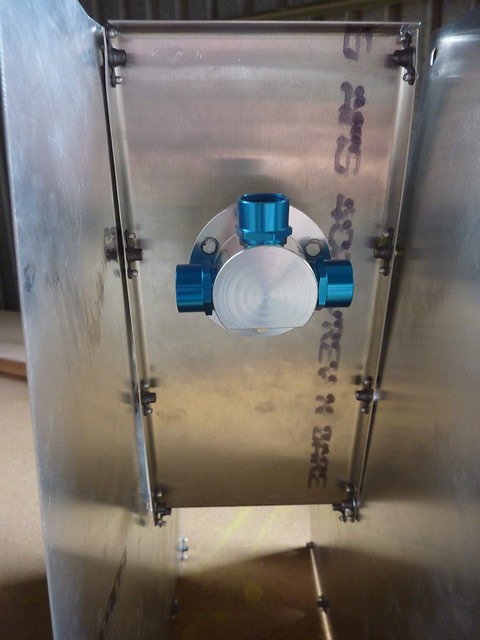
My first choice is to put a 90 degree fittings in and run the lines out of the back and round against the floor, up against the console. A trial fit made for a nice curve in the lines, my only concern is how close the line is to the rudder pedals. I don’t think it is an issue. My other thought is to come straight out of the console (through holes I’d have to drill) and then straight back. Wouldn’t be on the floor this time but it seems a shame to make a hole in the console. That said, it would look very engineering!
You may ask why don’t I just go through the centre console all the way back? That’s a good question and that might be possible but it looks to me like the lines will interfere with the control stick. Anyway, I’m buying a bunch of fittings for all possibilities.
My brother in law (another Alan) paid us a couple of visits over the break to give his eye and view on things, he knows a lot about planes so his input was always useful, though usually he would leave us with a few suggestions that would cause us to stop and change course. While looking over the engine, he was concerned about the stress on the bottom radiator mounts.
It’s a little hard to tell in that picture but you can see that the bottom attachment is being stressed upwards out of shape. He’s worried that after a lot of vibration it could snap and then it would be a bad day flying. We’re going to unscrew it and maybe bend the bracket up a bit to better match the shape of the radiator. Then do what we need with the mounts on top.
Slow progress but still progress. I’m very happy with the fuel lines on the front – things remaining on the engine:
- install fuel return line
- install fuel pump overflow line (there’s some plastic tubing in the kit which I think is for this but I’ve no idea)
- attach engine control wires to the regulator (need to locate connection sites and work out how to connect them)
- install solenoid and wire up the ignition circuit
- and I’m sure a lot more I don’t yet know about