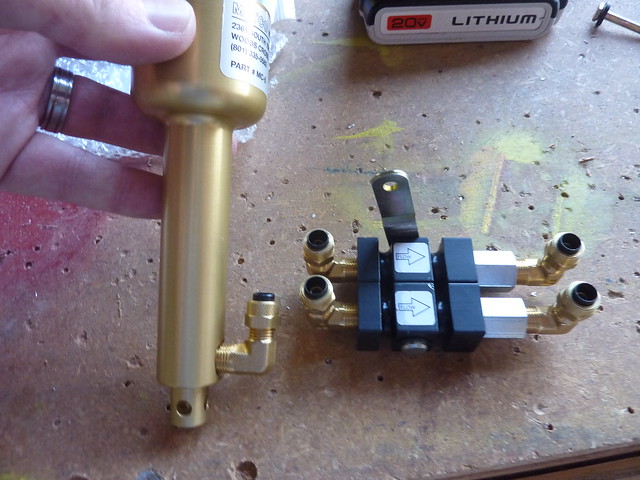
Allen and I were joined by his son Scott again today and we took a stab at the brakes. After some examination, we got to work installing the fittings into the brake master cylinders and parking brake.
The parking brake is an “off plan” addition to the build. Although I don’t see myself landing off field on a hillside, there are airports where parking is on a small incline and so the option of a parking brake made good sense to me. Last year I went to Big Bear with my instructor in a Cessna 172, got out of the plane, started walking towards the restaurant, casual glance behind and the plane was slowly rolling towards us. Might use it less than 1 in 100 landings but good to know I have it when I want it.
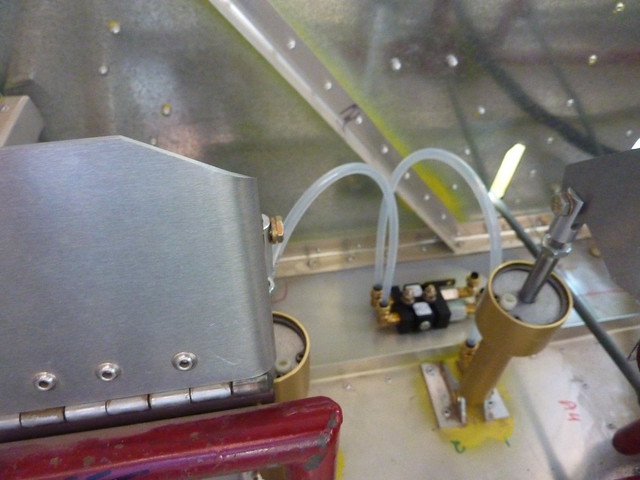
We drilled two mounting holes for the parking brake and then ran the supplied nylon brake line from the master cylinders to the parking brake. There wasn’t enough line to do both brakes so we only ran one outbound line from the parking brake.
You might make out the handle on the back of the parking brake. I’ve bought a push pull cable to attach to it so that I can operate it from the console. We aren’t entirely sure how to attach it but a “Cable B End” seems to be the thing.
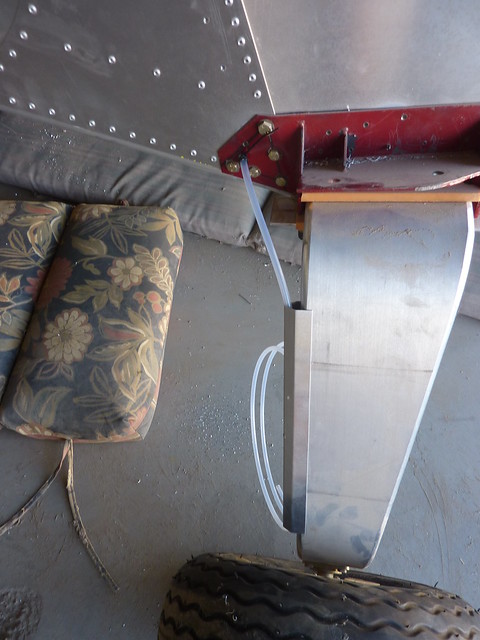
The line is going to run down the control stick area and then out the sides. Once outside it goes down the rear of the gear leg to the brakes.
I didn’t know, until I was looking for something else, that the kit came with two brake cable retainer brackets. We will stick them to the leg using a silicone adhesive. At this point we wondered whether the fittings needed a thread lock, seems like they do, so we stopped play until a suitable sealant had been secured.
In order to make the line fitting easier, we moved the bleed valve to the top of the wheel. I ordered some more line and fittings and hopefully can finish the install this coming weekend.
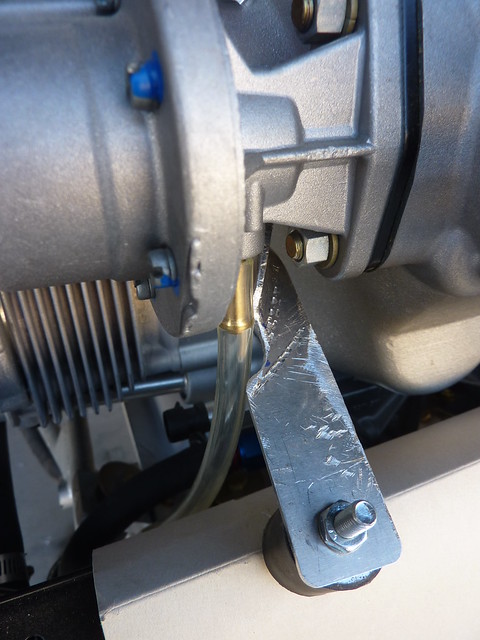
While Scott and I were fiddling with the brake line, Allen took the grinder to the radiator mounting bracket to make more room for the fuel pump overflow outlet. I attached the overflow line.
He also worked on the mounting bracket to relieve the pressure on the lower mounts (see earlier post on our concerns there).
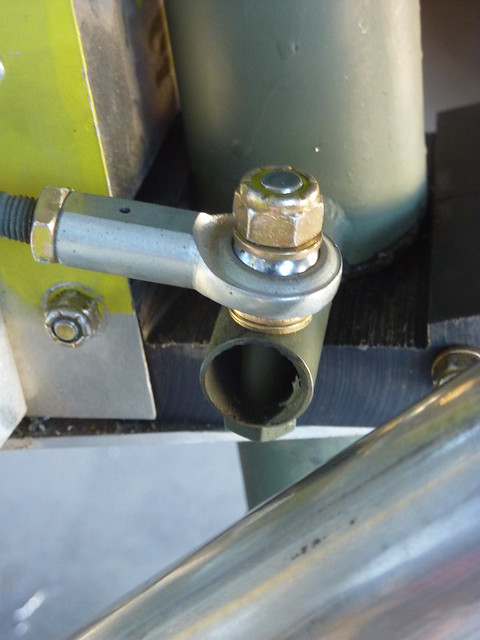
With everything straight, we installed the mounting gear to the steering rods.
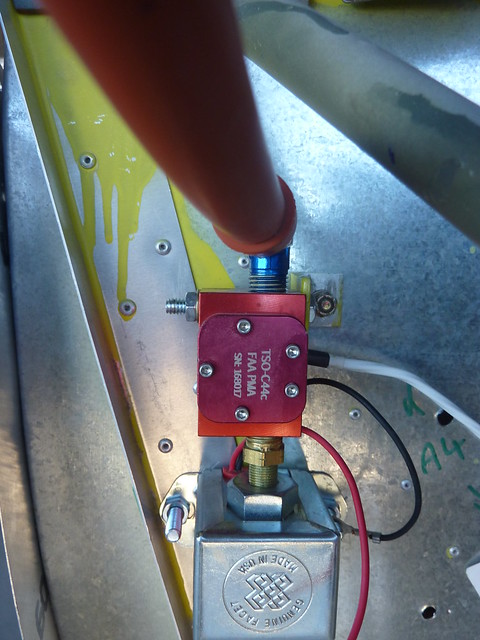
Also, while Scott and I fiddled with the brakes, Allen cut and drilled a mounting bracket for the fuel flow sensor.
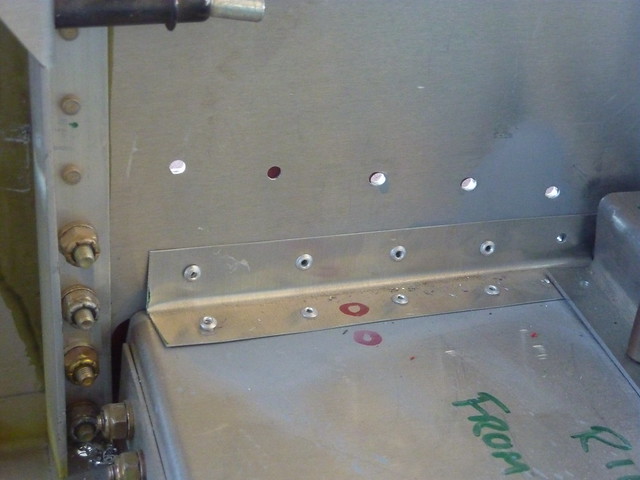
While examining the brakes I found a few places where rivets had not yet been put so I put a half dozen or so rivets in on the cabin floor. I also riveted the l-angles that go under the seat
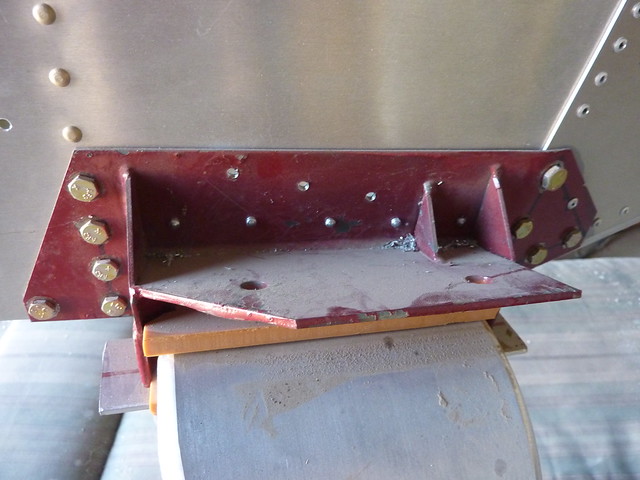
These rivets go through the gear strut fitting.
