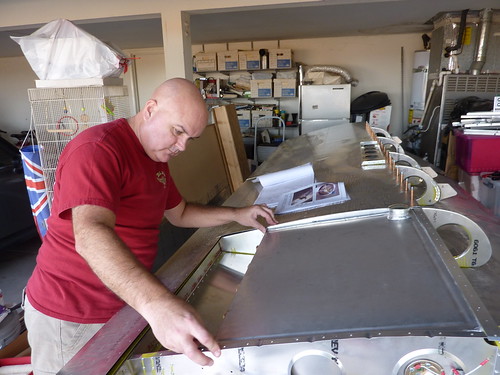
I’d been putting this off long enough, time to cut the hole for the fuel sender. I had already marked the rough position of the lightening hole in the rib, so then it was just marking the centre location for the sender unit.
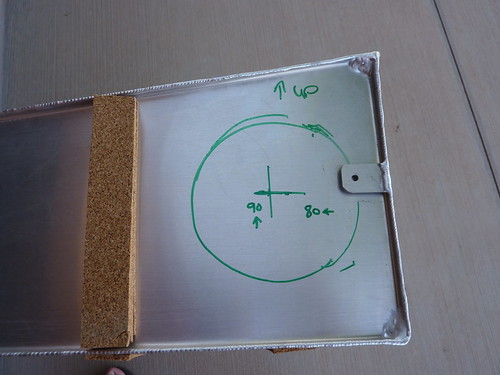
I had done a lot of research on how to cut the hole and ended up going with the recommendation of using a hole saw. I got one that was slightly smaller than the hole I needed, on the basis that I would probably screw it up and it would be easier to make larger than smaller.

The hole saw was very easy to use though it does appear that I didn’t get a perfect circle from my efforts.

It took a lot of work to expand the hole until it was big enough and I think for the other tank I shall buy the proper size hole saw.
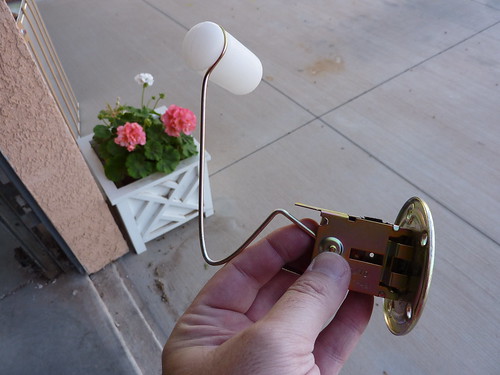
The fuel sender arm has to bent at a certain place and angle. This required massive feats of strength (I’m a weakling!) and was probably the worst task of the day. Anyway I got it bent to what I think is close enough.
The video and photo guide make it look easy to get the sender inside the hole, it was not. And for the longest time I was sure I had made the hole too big for the sender to line up with the top of the tank. But just as I was about to take the whole project down the dump it was in and each screw was locked in place. Since I had only been experimenting I had to take out each screw one at a time so as to apply a fuel safe sealant around the screws to prevent leaks.

The fuel sealant is NASTY.
The tank and the sender unit need to be grounded to the wing so I cut some wire and attached some terminals. These will be grounded on a rivet in the spar.
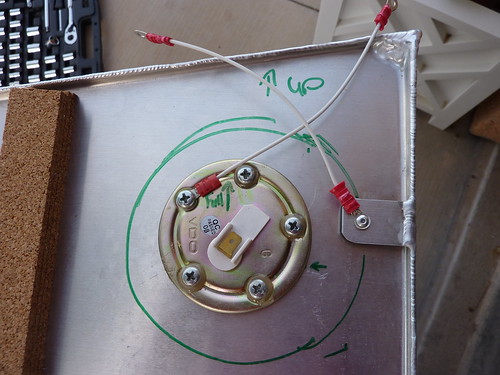
The tank is now ready for final install inside the wing but first we shall test it for leaks.
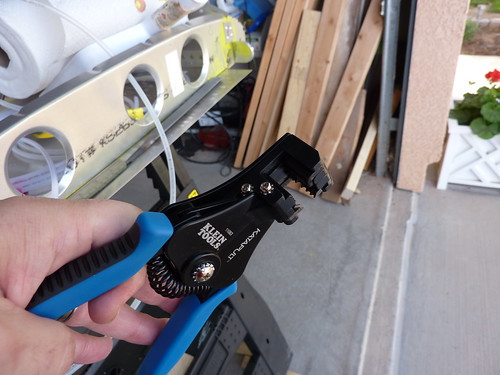
Finally, this was the first time trying out my new wire stripping tool – it is awesome! No more using my teeth to strip the wire or accidentally cutting the wire using a regular crimper/stripper.