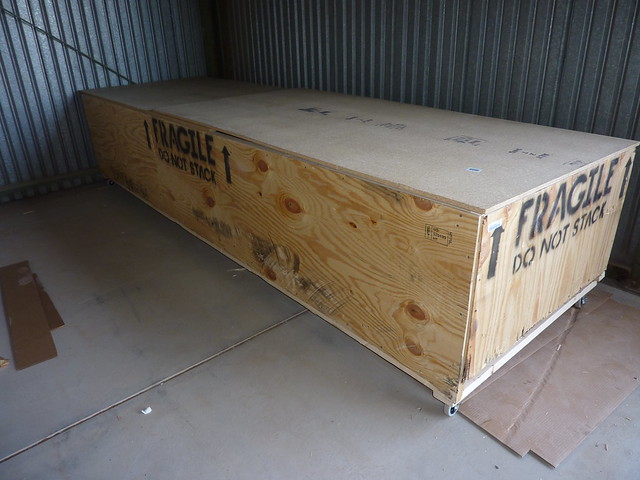
Just before Christmas, we had been in Vegas and stopped by Mike and Liz’ hangar to see how their 750 build is coming along. One of the things that was obvious from the trip is that we need to turn the shipping crate into a work bench, so today we did just that. We put some wheels on the bottom and some chipboard on the top and voila a new bench.
We had left the l-angle stiffeners clecoed to the skin
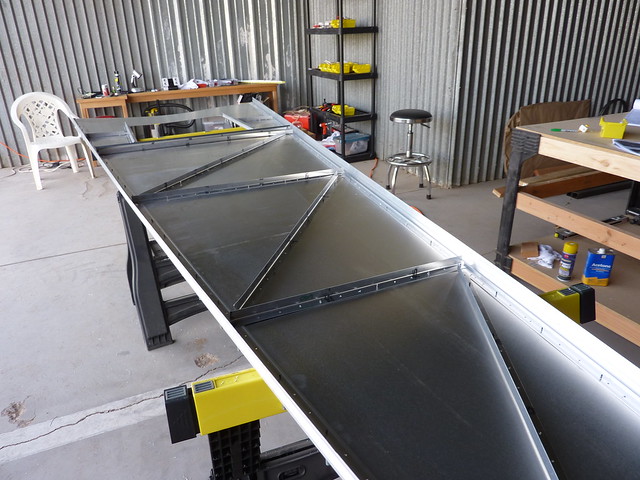
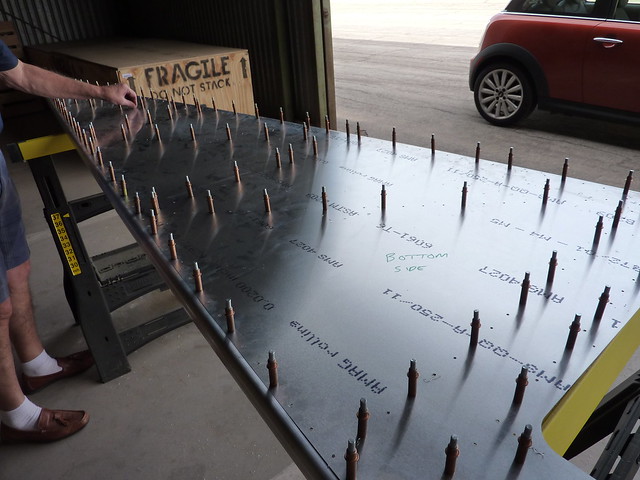
but only pilot-hole drilled so as usual we need to open up the holes to their final size.
Next up is to install a bunch of nut plates around the access hole. The centre holes for the nut plate were predrilled so to find the position of the plate, we had to put the screw through the hole into the plate, twist the nut plate the way we wanted it to line up and then drill the mounting holes either side.
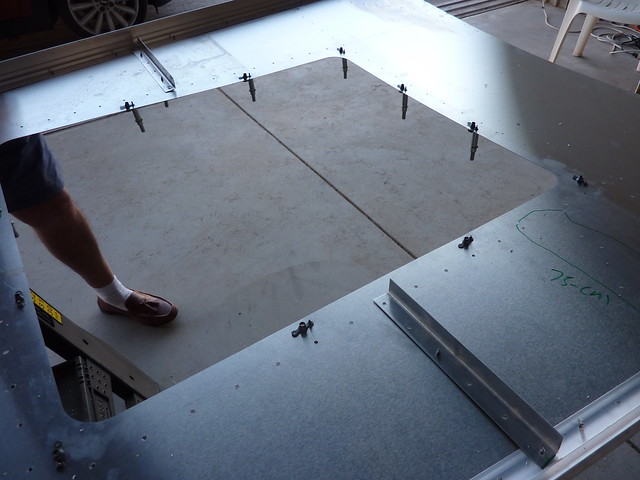
After some deburring and priming these get riveted into place with tiny, tiny, A3 rivets, first time in the build we’ve seen them. But there’s a huge bag of them in the box so it is obviously not the last time.
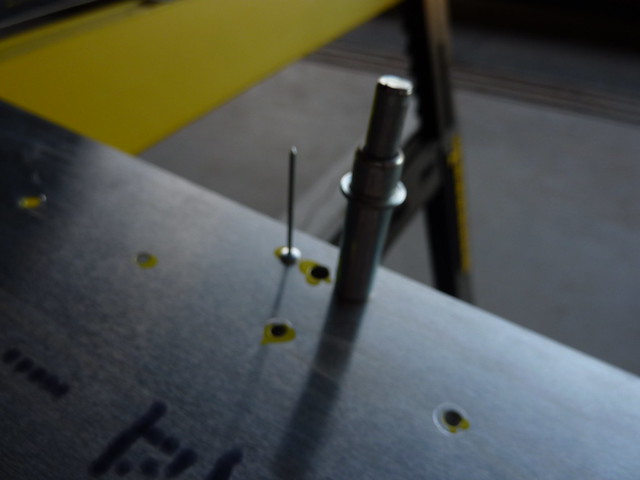
Lastly, we attached and drilled to final size the bottom skin gussets to the front of the skin, one on each side.
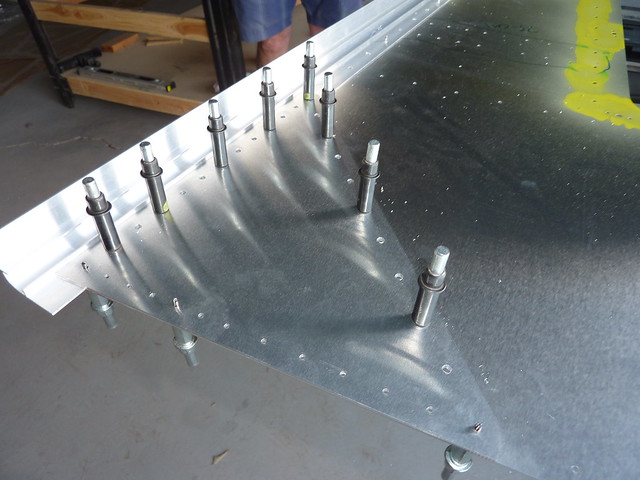
The front of the gussets share holes with the main gear mount so those are left alone for now. Also in that picture you can see a faint green line around some rivet holes in the skin, this is an area where a control mount gets put so this has been marked as a “do not rivet” area (which I sadly ignored later and had to knock out the rivets).