Big day today, we’re going to see the rear fuselage frame assembled for the first time. Well, hopefully.
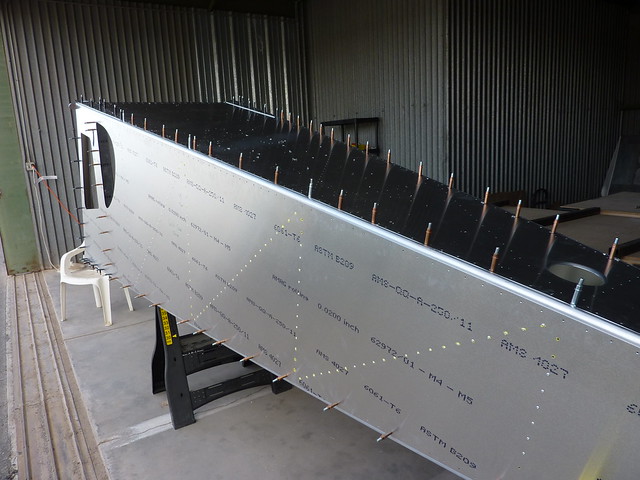
Started out by riveting the HT Frames to the bottom skin. Then we clecoed the pilot side skin to the bottom skin longeron, used some tape to stop it from flopping out.
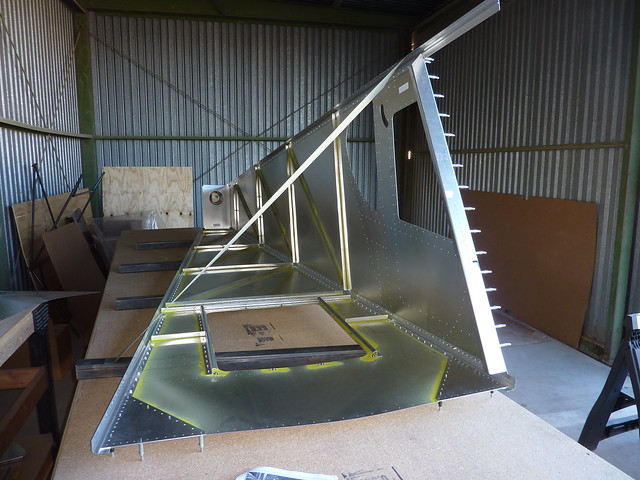
Here it is from the other side.
Then we did the same for the other side skin.
Next up we want to add the top channel that goes between the skins which will keep the skins together nicely. Before we can do that, we have to trim the longerons flush with the skins.
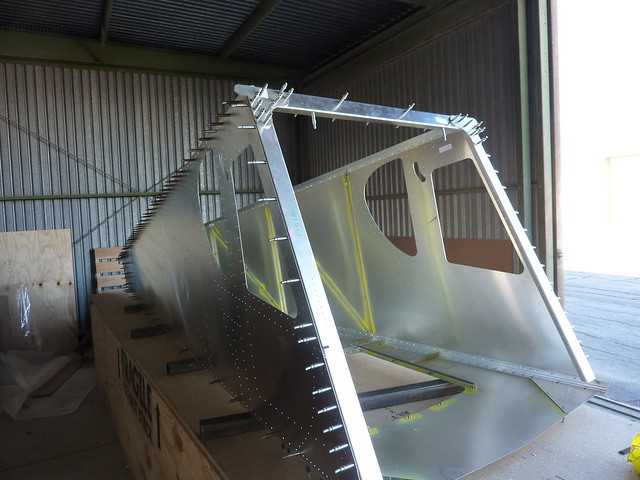
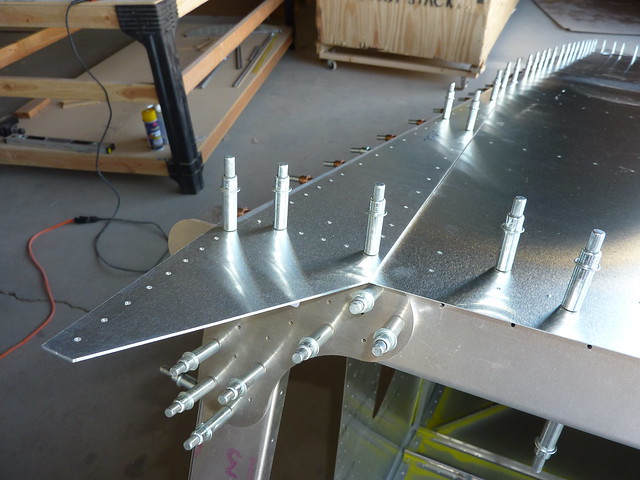
Here’s a picture of how the rear wing attachment goes onto the top channel.

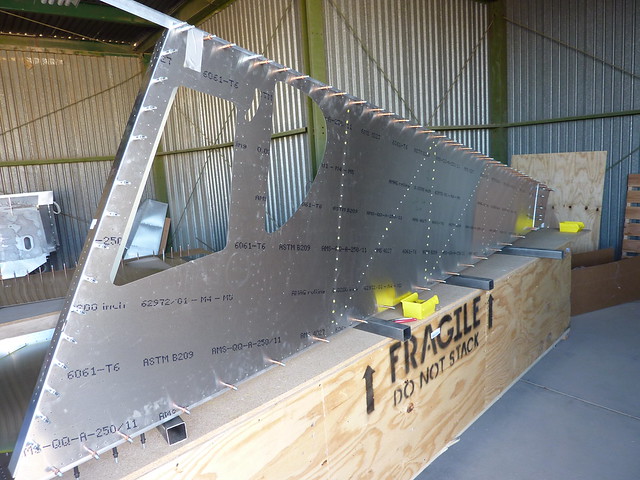
The top channel is actually made up of three pieces: the top channel, a rear top channel and a rear top channel angle. Dad was getting impatient with me taking pictures so we jump straight from here to the assembled channel in place on the skins.
Notice that we have attached the side channels to the front of each side skin before we did that. The top skin was then placed over the top longerons on the side skin and clecoed to the top channel to put it in the proper position laterally. Then we started drilling through the pre-drilled holes into the longerons.
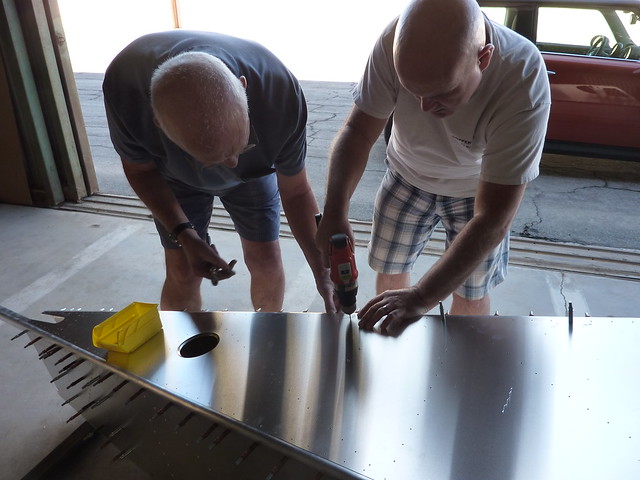
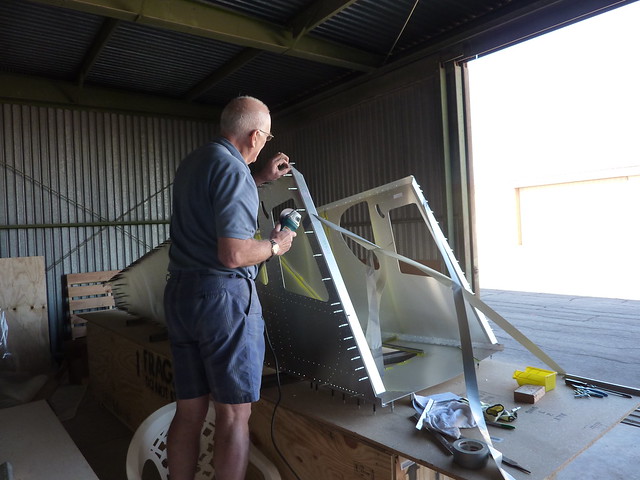
Same deal as before, pinching the skin into the right place against the lip of the longeron so that it will curve in to match the shape of the skin.
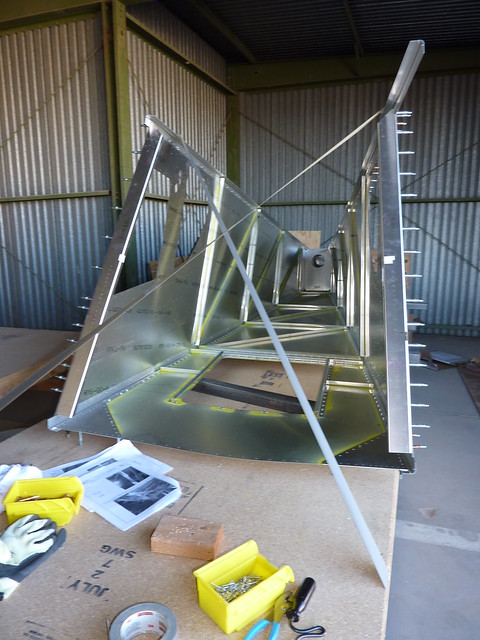
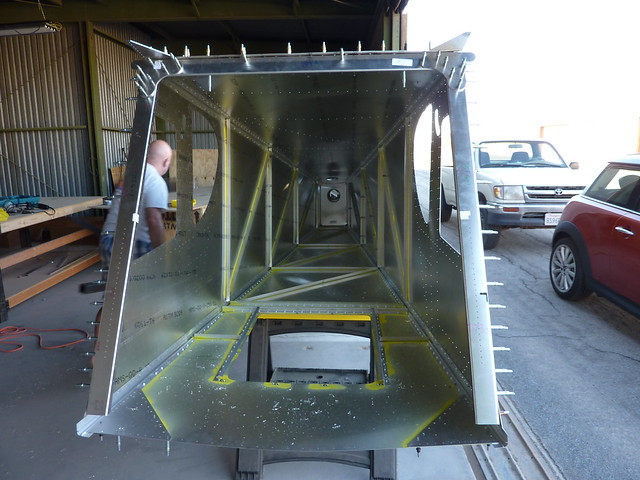
It didn’t take long before we had the top skin clecoed all the way along on both sides. Here’s a view from the front, don’t get dizzy.
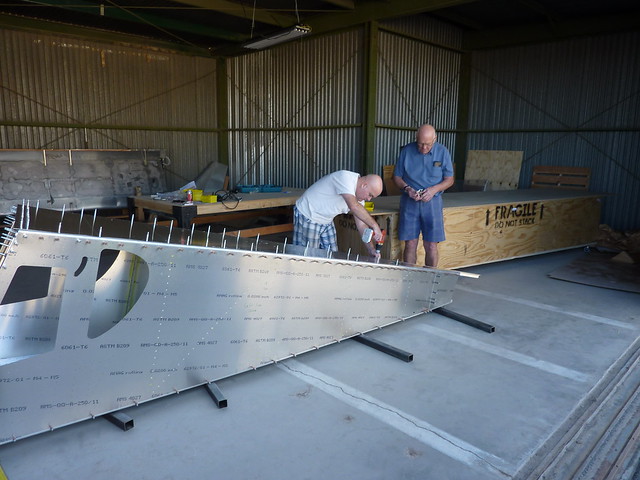
There are two meaty feeling top doublers that go on the top skin, one each side
We then drilled out a lot of holes to their proper size and the first assembly of the fuselage was pretty much done.
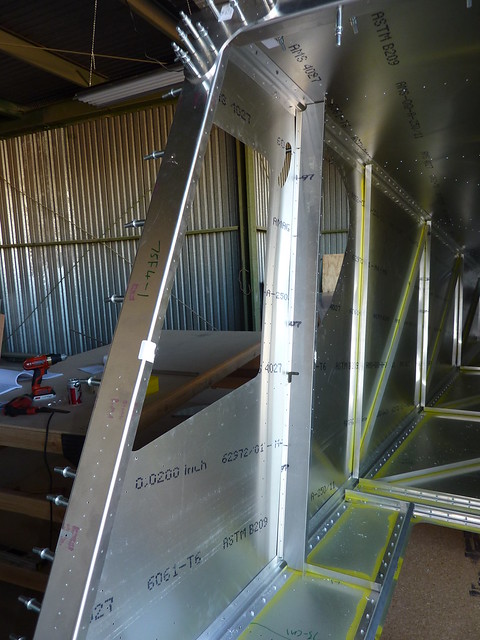
Inside each side skin we clecoed the side channel.
A long, but pretty good day’s work.