I got sick during the week but decided not to let that stop me from taking a day off to work some more on the cowl. The winds that morning were savage, 25 mph straight out of the north and into the hangar and routed over some extreme cold. I don’t know when I’ve ever felt that cold out here in Brawley before.
“Wore two jackets” Allen joined me with his amazing sanding tool with which the last of the trimming was completed. The whole thing was put back onto the airplane again, fit was checked, and then holes for the fasteners were marked and pilot drilled.
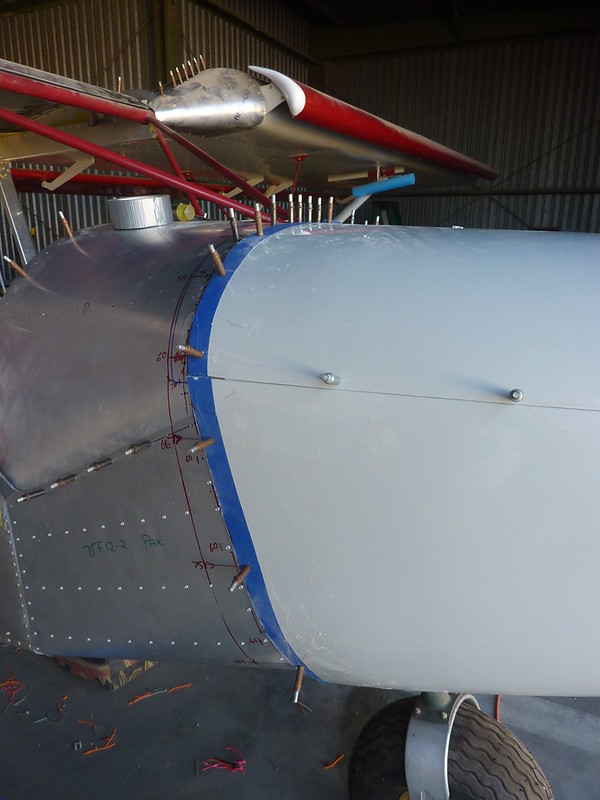
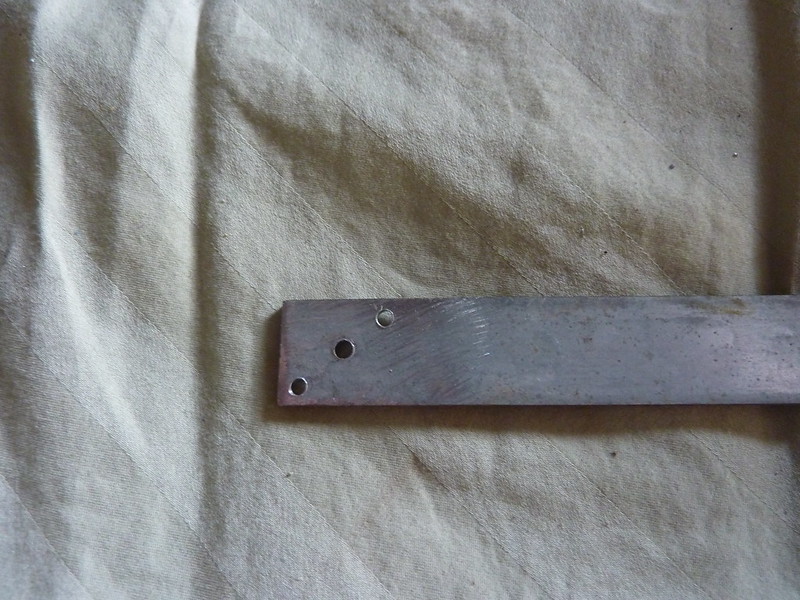
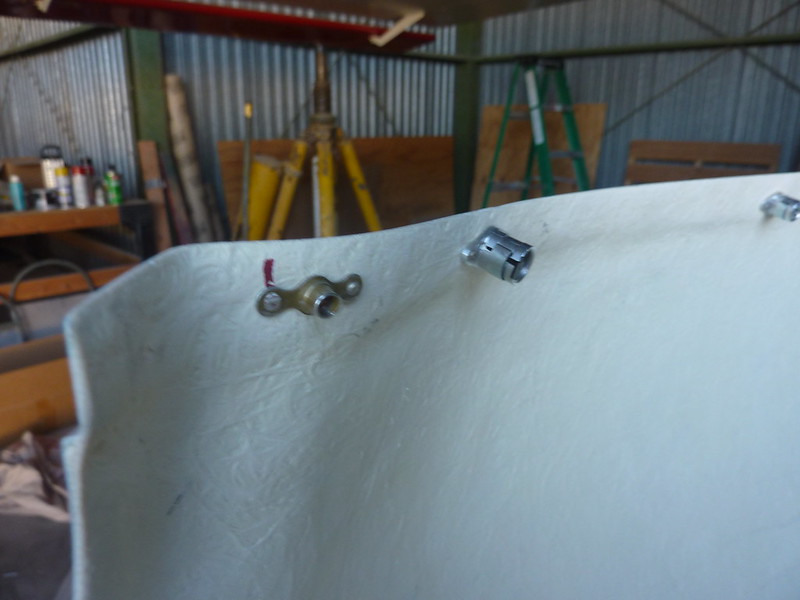
Always a fun moment when making the first hole in something that you can’t go back on. In order to help drill the fastener rivet holes, a template was made.
and then all of the holes in the receiving material were drilled for the receptacle and the rivets.

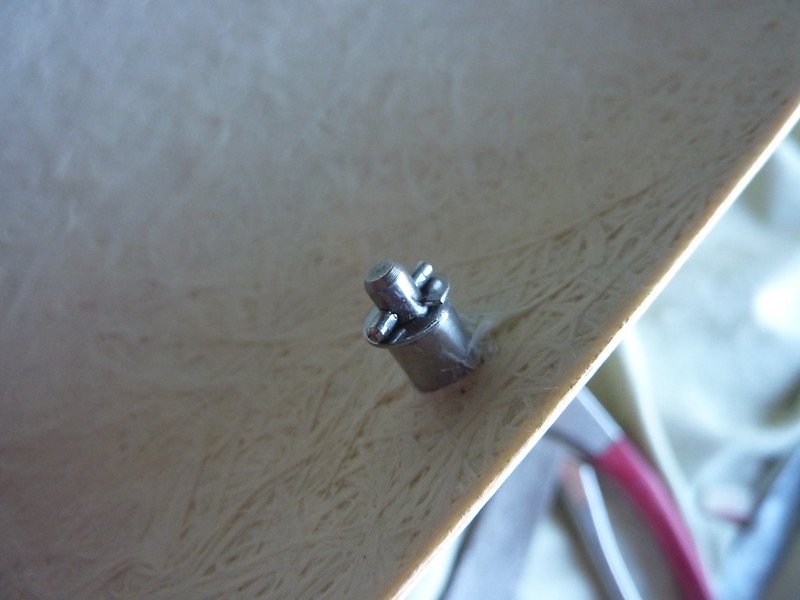
The top side holes were enlarged to take the bolt and the bolt pushed through.
You have to push the bolt into the spring and then jiggle it around to get the retaining part through the hole. Between the cold wind and the edges on the bolts, this was surprisingly painful on my fingers.
It was then a slow process of riveting the fasteners in place. The rivets are set just using pliers to smush it in but it needed quite a large pair of pliers in order to get past the rim.
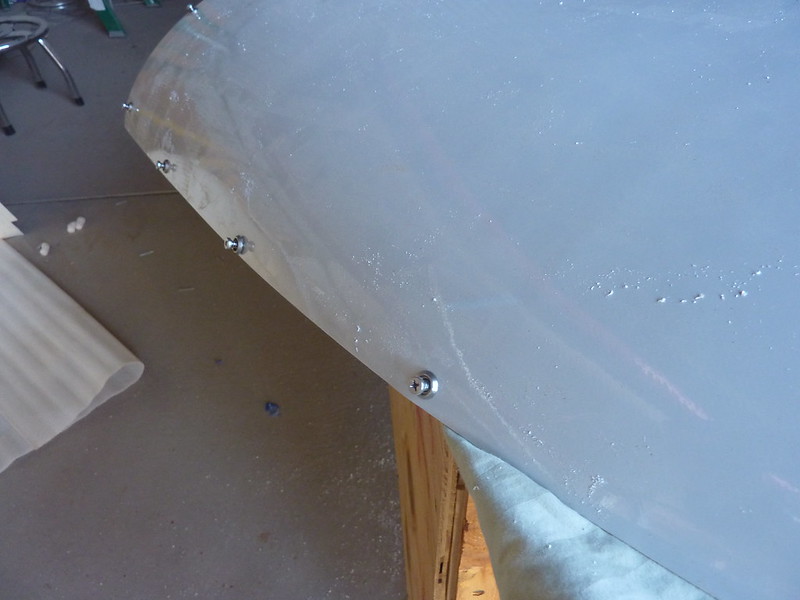
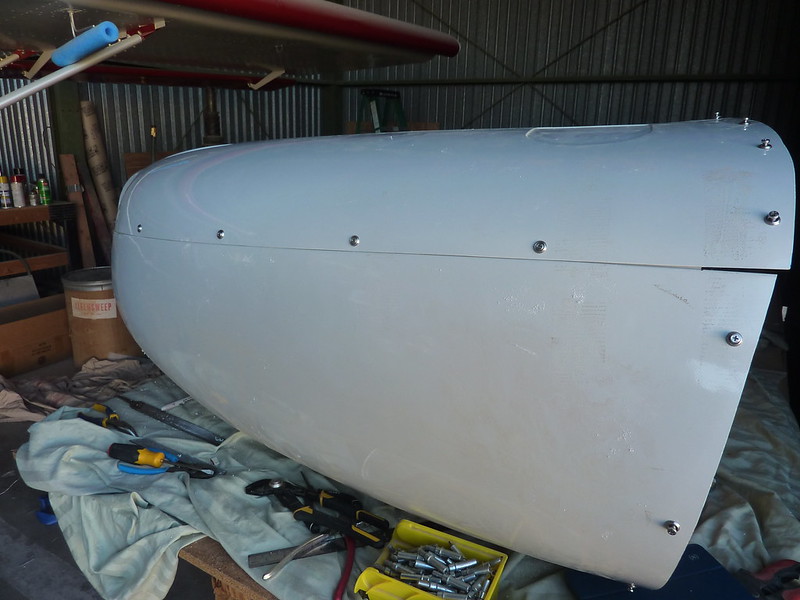
During the week SkyTek had confirmed that the screw in the nutplate should go as far forward as possible but not, as I had realised, on the nose of the cowl. So it was drilled and riveted as can be seen on the last picture.
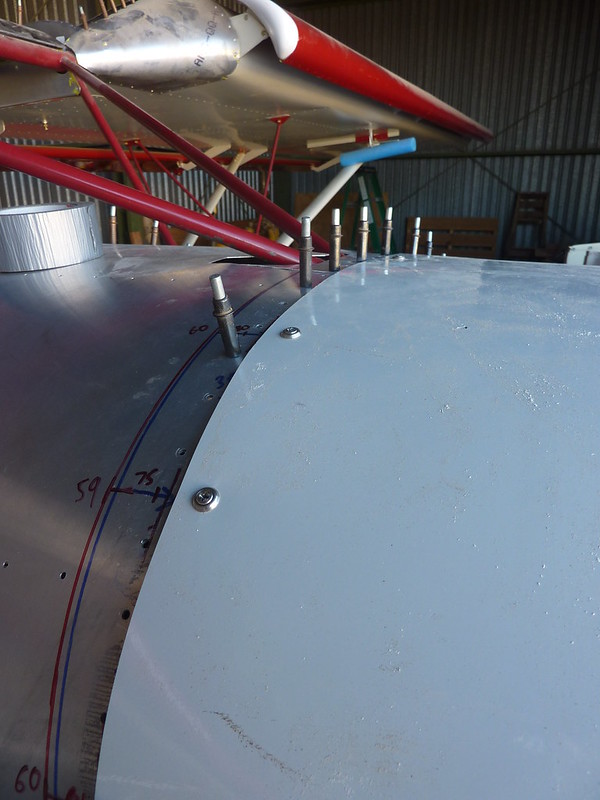
The two halves were then put together and the fastened. To set the fasteners you tighten them all up, loosen it up a little and then pull a locking pin from the back. This sets the fastener so that a quarter turn is all that is needed to lock or loosen the bolt. It really is quite a neat way of holding the two pieces together.
This whole exercise was then duplicated for each half on the fuselage. The halves need to be done separately so that you can get to the pins.
A couple of the fasteners had lost their pins and I’m thankful that there were enough spares in the bag to install all of the bolts without having to get more. In one instance, Allen was able to re-install a pin but a couple of others were toast.
Allen left for the day but I was able to get the bottom fuselage on and the bolts all set.
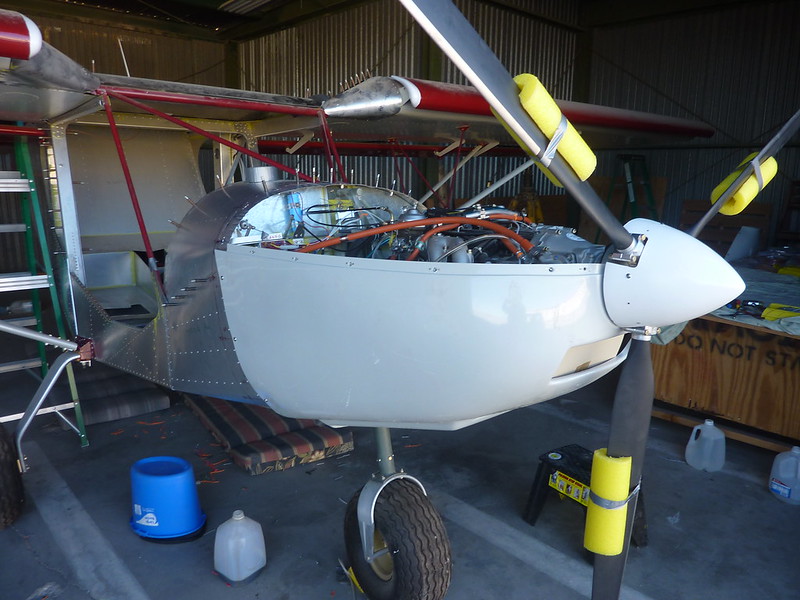
and then for completeness I re-assembled the whole thing.
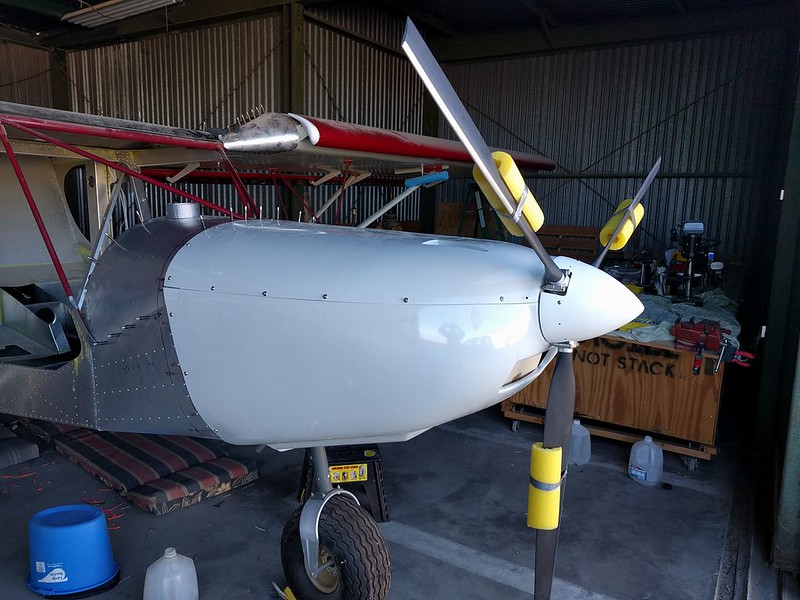
I’m happy to say it all fits together (although I had trouble getting a couple of bolts to lock in place) and it is off the spinner at the front, looks pretty centered.
After that I removed the cowl and set it aside. It is complete except for cutting out a couple of scoops and cutting/installing the oil access door.