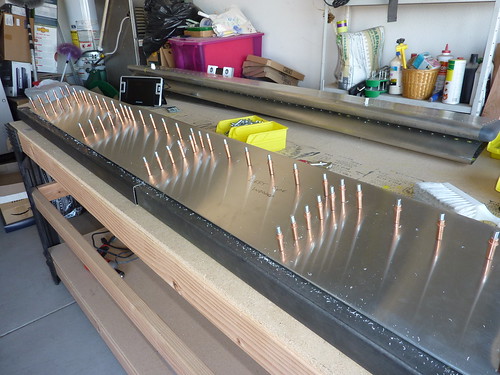
Teri wasn’t available to help me fold over the skin on the right-side outboard flaperon right away so I started on the left-side inboard flaperon which was yet to have the spar attached to the skin. I got as far drilling out the holes in the underside of the skin lining up with the spar, ribs and full rib.
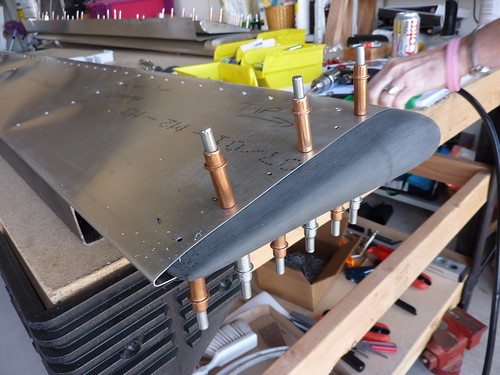
Next Teri helped bend the nose skin over so it could be clecod to the spar and then riveted. I’d been reading different methods to achieve this and it seems everyone has their own technique and success. This time I used a furring strip to bring the skin over but it didn’t seem that much easier than using our hands. The riveted flaperon.

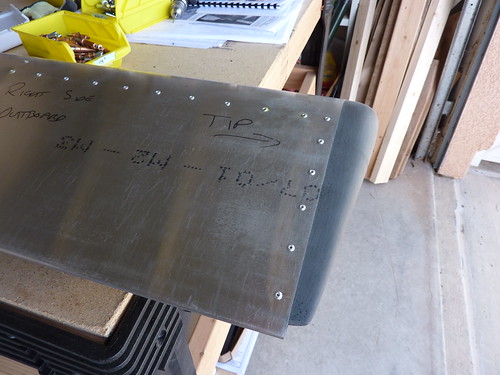
If you look closely at this picture you can see that I have forgotten to rivet the full rib to the angle bracket!
The outboard flaperon gets a tip and this gets pushed into the end curve and matched to the shape. Making a small notch in the bottom helps with this. Unfortunately my first attempt with this on the left-side outboard flaperon failed as I made the notch too big; the second item for my replacement order form.
To end the day I made some more progress with the final flaperon, the left-side inboard, by drilling out the holes on the top of the skin to the spar and ribs, first at size #40
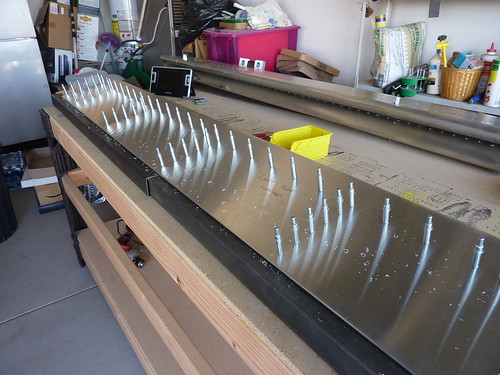
and then on to size #30
All that remains with the flaperons is to assemble the control horn, position the full rib to the rib angles, and rivet. I am about 3 hrs shy of 50 hrs on the project, it would be nice to reach 50 hrs with this kit complete.