I can’t put the fuel tank off any longer as it is pretty much the only thing keeping the wing from being finished. First thing to do is take the sender unit and bend the arm at a measured location to a specified angle. Something like this

(I bent it some more after this picture).
But during the bending I dropped the unit twice and a plastic tab that sits under the wire terminal broke off. I’m not sure what role it takes so I asked Zenith and they have asked for a picture. So I am now waiting to hear what they say, if I should get another one or not.

On a roll of destruction, it was easy to cut the hole in the fuel tank, then file it down some more for the sender unit to (barely) fit inside.
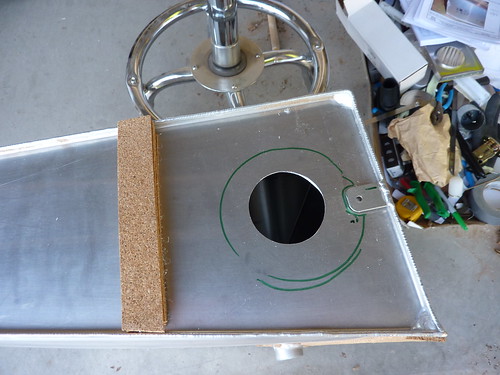
So the fuel tank is ready to go once we have a decision on the sender unit. Time to work on the other end….
I’d already drilled mounting holes for the nav lights but I hadn’t made a path for the wire to exit the wing via the trailing edge. Took care of that
and then I crimped some connectors on all the wires involved in the lights
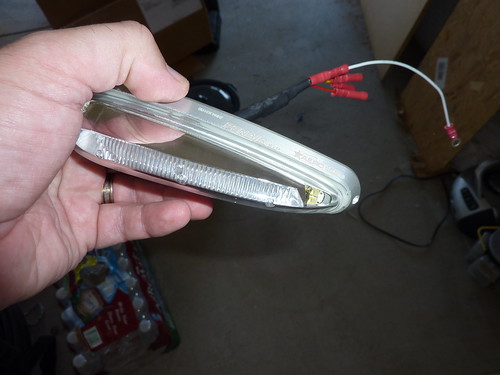
and made a ground cable to put around one of the mounting screws.
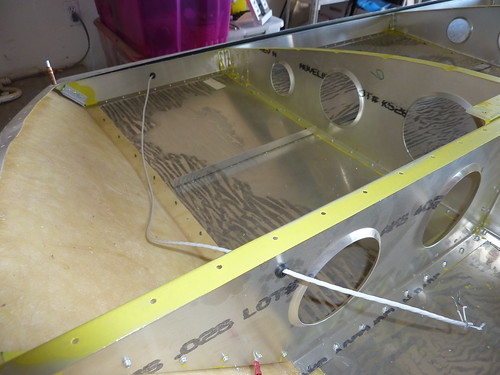
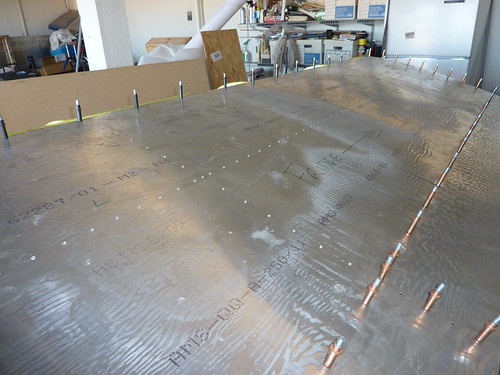
At this point I realised I could rivet much of the top skin on and get the project looking like a wing again. I can’t rivet the spar because the nose skins come over there. Also, I’ll leave the wing tip and rear rib next to the fuel channel. Here is everything cleco-ed ready for some rivets
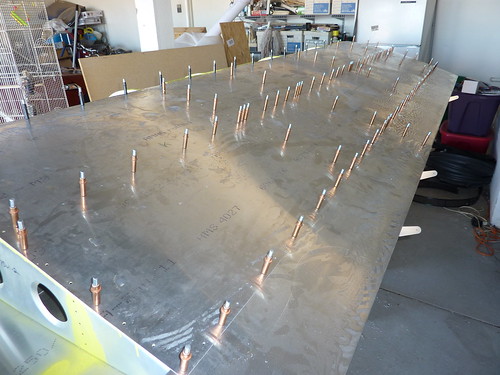
Rear ribs and internal stiffeners riveted….
And (most of) the trailing edge
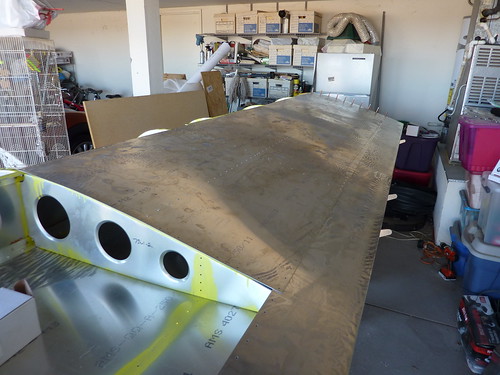
It is funny how suddenly it really looks close to being done though really we are, still need to attach the nav lights to the wing tip (haven’t mentioned it here but I’m having trouble with the mounting bracket) and then put the fuel tank in and sew the patient back up. Gotta get a move on, the fuselage is coming soon!
2 comments for “Fuel Tank Sender, Nav Lights, Top Skin (3 hr)”