Today I removed the previously installed root rib from the pilot side wing and installed the new, Edition 3, one. In theory this is a simple drill out of a bunch of rivets holding the rib onto the spar, nose rib, bottom skin, and rear channel but in practice removing it from the rear channel was a bit of a bugger.
Here’s a picture of the newly installed rib.
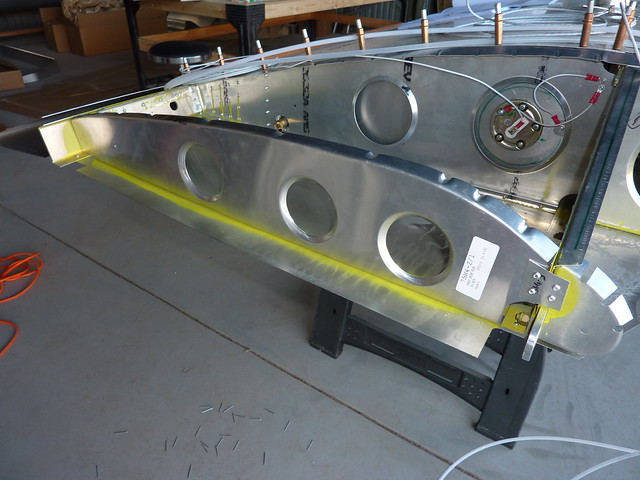
If you look to the left you can see where the rib connects onto the rear channel and the trailing edge makes a nice V-shape off the back. Well, unfortunately the rivet heads for that flange are inside the trailing edge space making it impossible to get a hammer in there and punch out the centres.
To save myself having to relive a LOT of frustration and messing up, I’ll spare the failed attempts and will just say that the trick was to get hold of a right angle drill attachment for my drill and some hard core drill bits and drill the centres out from inside the trailing edge. This was actually quite easy to do, and once drilled I could pull the rivets out with some pliers.
With everything out it was then just a case of drilling out the holes in the rib to match the already enlarged holes in the wing. Here is the rib being fitted to the bottom skin
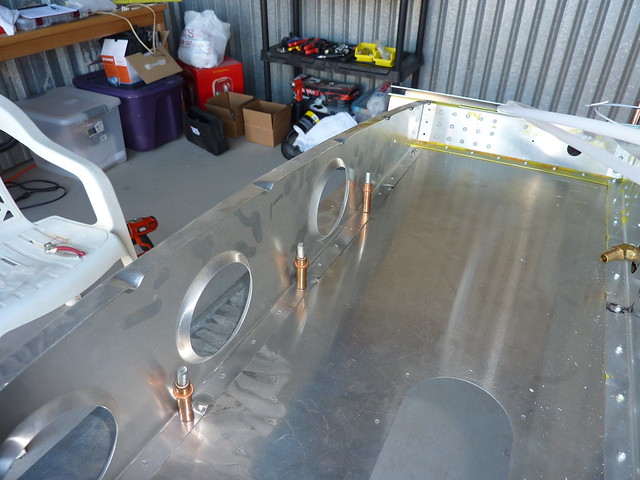
In Edition 2, the nose rib was held in place with some rivets and a bolt, in Edition 3 it is just two A6 rivets which meant I had to make larger holes in both components. You can also see that the bridge piece between the two ribs has been drilled to A5 size on the other side.
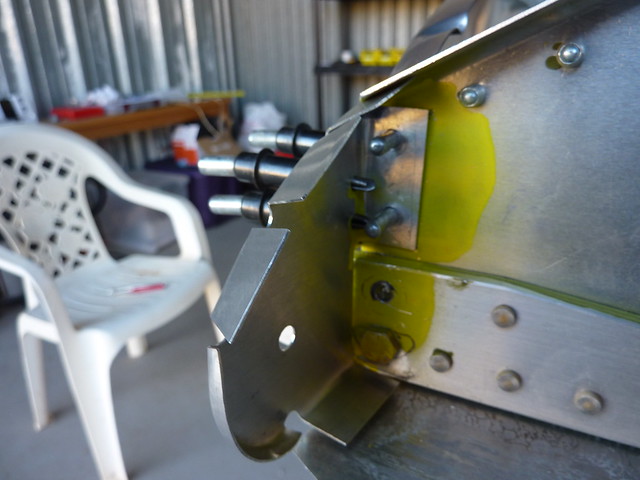
Here it is riveted in place. I had to take one of the rivets out because I couldn’t get my rivet gun on the A6 rivet behind but by this time getting out rivets is something I’m good at!
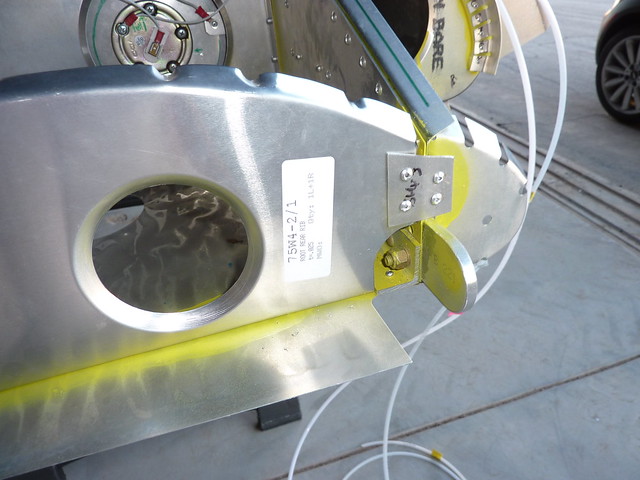
Nose rib riveted to spar and root rib with the A6 monster rivets
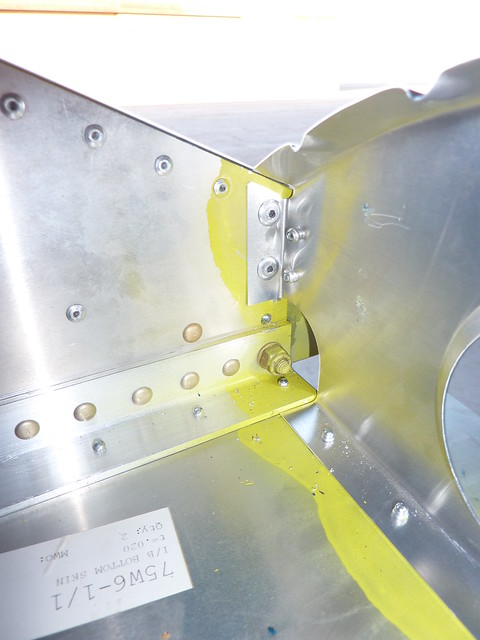
And this time the rivets into the rear channel go on the other side (since we can’t get inside the trailing edge).
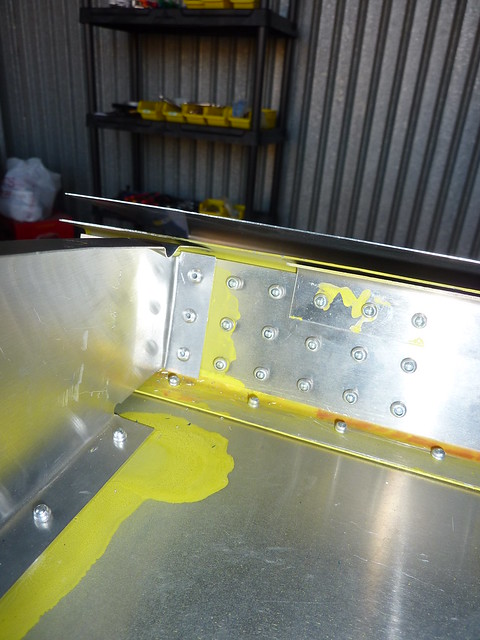
So that completes both wings for now. I have to do the root rib skins before we put the wing on the airframe but I figure that can wait. There are sexier things to be working on…..
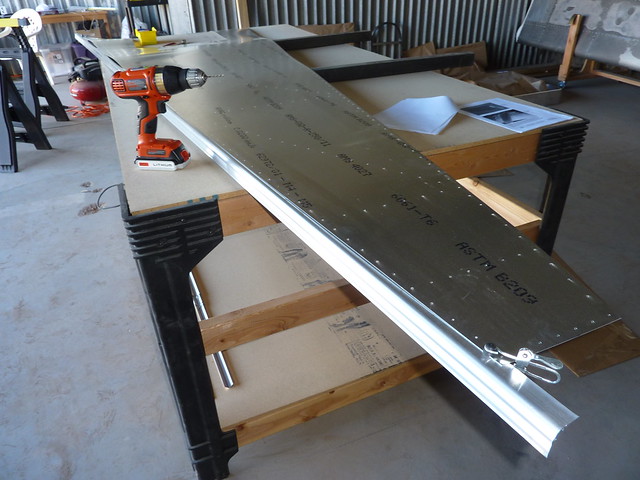
Teri helped me put the wing back in the stand and just for giggles I put the fuselage bottom skin on the bench and placed the longerons alongside.
Something new for the fuselage is the use of Z-angles. Much like L-angles, they resemble the letter they are named after.
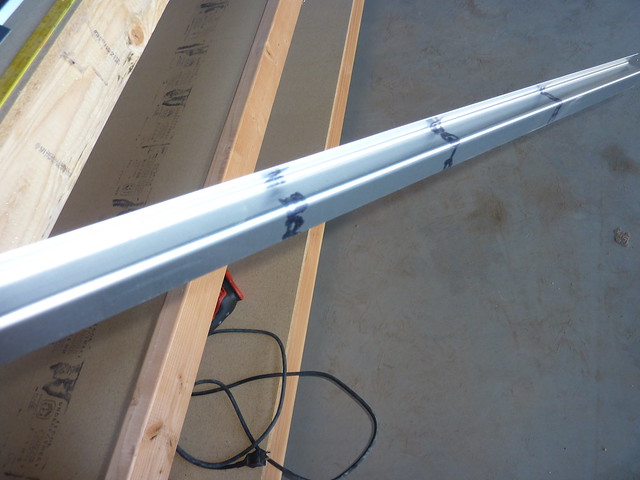
I didn’t upload the pictures but I cut 3 Z-angles to specified lengths and put them aside for when the longerons have been drilled.