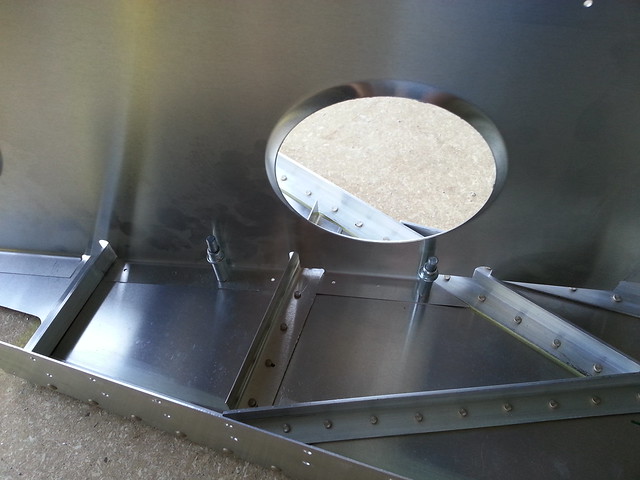
There are three flanges on each seat base that go up against the cabin side, two of which are pre-drilled. In order to drill these into the cabin side I used my 12″ bit to score the location of two of the holes. I then removed the side and bases, drilled the holes in the cabin side and clecoed the bases and sides together.
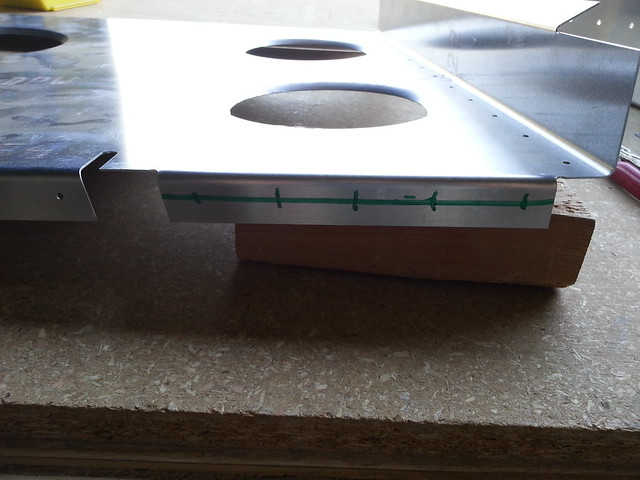
The plans called for the third flange to have five rivets in it so I got the ruler out and marked some locations.
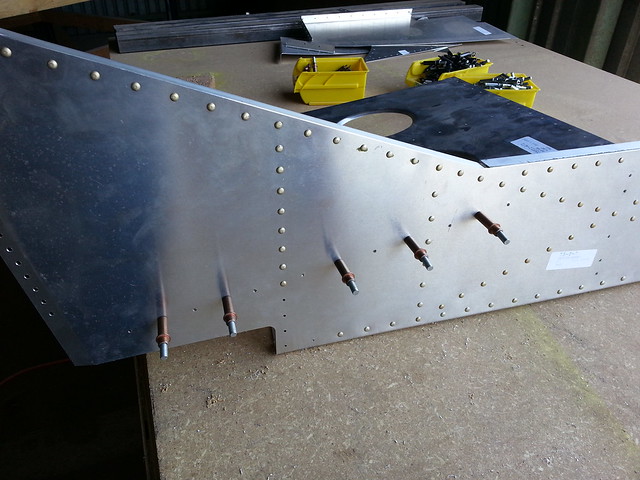
I pre-drilled the holes in the flange and then into the cabin side, finally enlarging all the holes in the flanges to size 30.
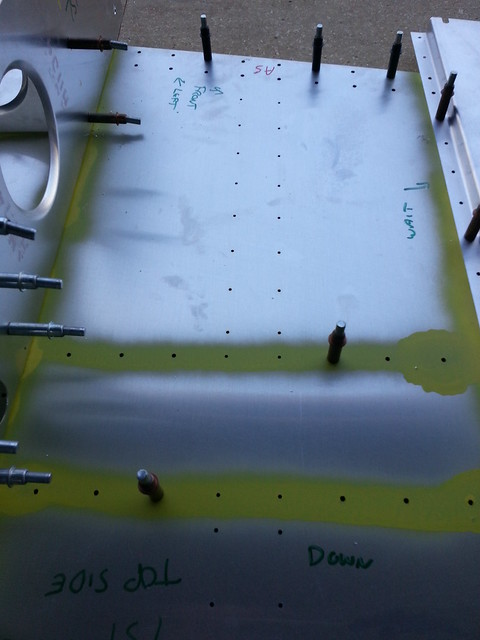
Then came the fun part – deburring every piece that was laying on the bench. That took a while (the cabin floor has tons of holes ugh) but when it was done I reassembled the forward fuselage, applying my primer as I went (sadly, often in the wrong places).
It was at this point that I started to wonder why there was a row of holes that had nothing attached to them.
I had signed every page in the book so I followed all the instructions…… That meant the plans had to be studied and sure enough there were two parts that get riveted there but no mention of them anywhere in the guide. Makes you wonder what else is missing that isn’t as blatantly obvious as this.
Here there are, cabin floor stiffeners in a left and a right.
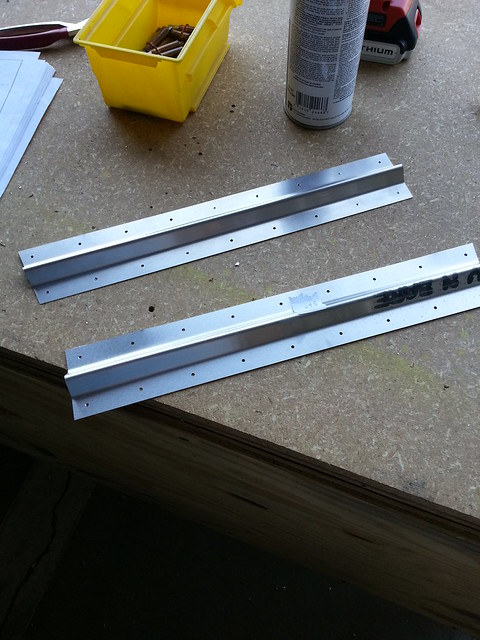
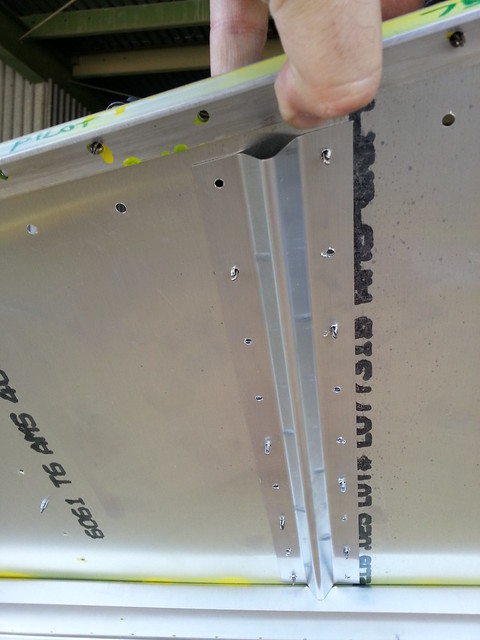
I clecoed them in place using those pre-drilled holes and then expanded them to size 30, per the plans. Here’s a view from underneath.
Lastly I clecoed the cabin sides back on and then everything was ready to rivet next time around.
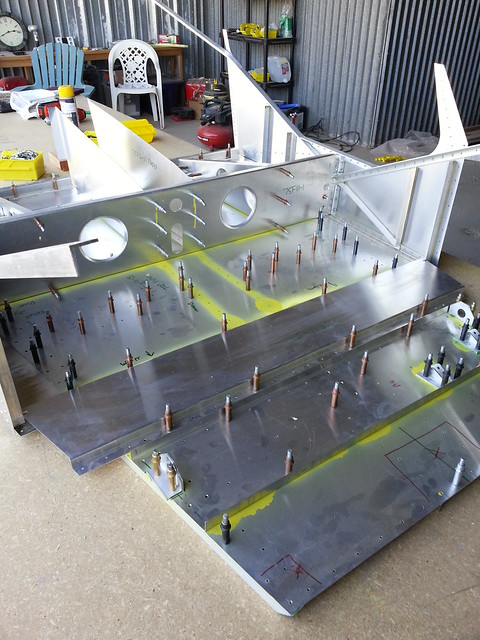
Note that for riveting you have to be careful to rivet from the right side. The rivets near the gear the channel must be pulled from the bottom so that they don’t interfere with the gear when it is mounted.